
It’s been a month of modifications. It started when I tried to show off the railway to son Michael, and found that when I changed the points, there was a dead short. So the first task has been to rewire the point frogs correctly. It now works.
Then, as I reported last time
I have thought again about my N-club modules. I decided that I really did want to be able to operate the layout from both sides, and be able to look from the ‘outside’ when the layout is at home, allowing the buildings to form a backdrop.
Rather than duplicate the point switches on the other side of the layout, I have gone for the expensive option, DCC operation of the points. A package of Cobalt gubbins arrived last week, and I need to build a control panel and rewire. Disadvantage – cost. Advantage – layout with control panel is reversible, just two wires control all the points on the layout, and the control panel is connected to the layout by a single Ethernet cable rather than a 20+ way multipin plug with all the attendant wiring.
Despite the often sketchy Cobalt instructions, the points now all work from a control panel that can be placed either side of the layout. First job was to remove the point switches from the baseboard facia and fill the holes. Then to simplify the wiring. Two wires to each point motor decoder (or as here, one for a crossover) from a common bus does simplify things.

Next to make the control panel. I decided to still call the layout ‘Roselle Park’ despite the simplified track layout. A simple bit of graphics printed on my PaintJet, then sprayed with several coats of varnish to make it more durable. Putting the switches together, rather than on the points they operate made the panel shallower, as the gubbins didn’t overlap.
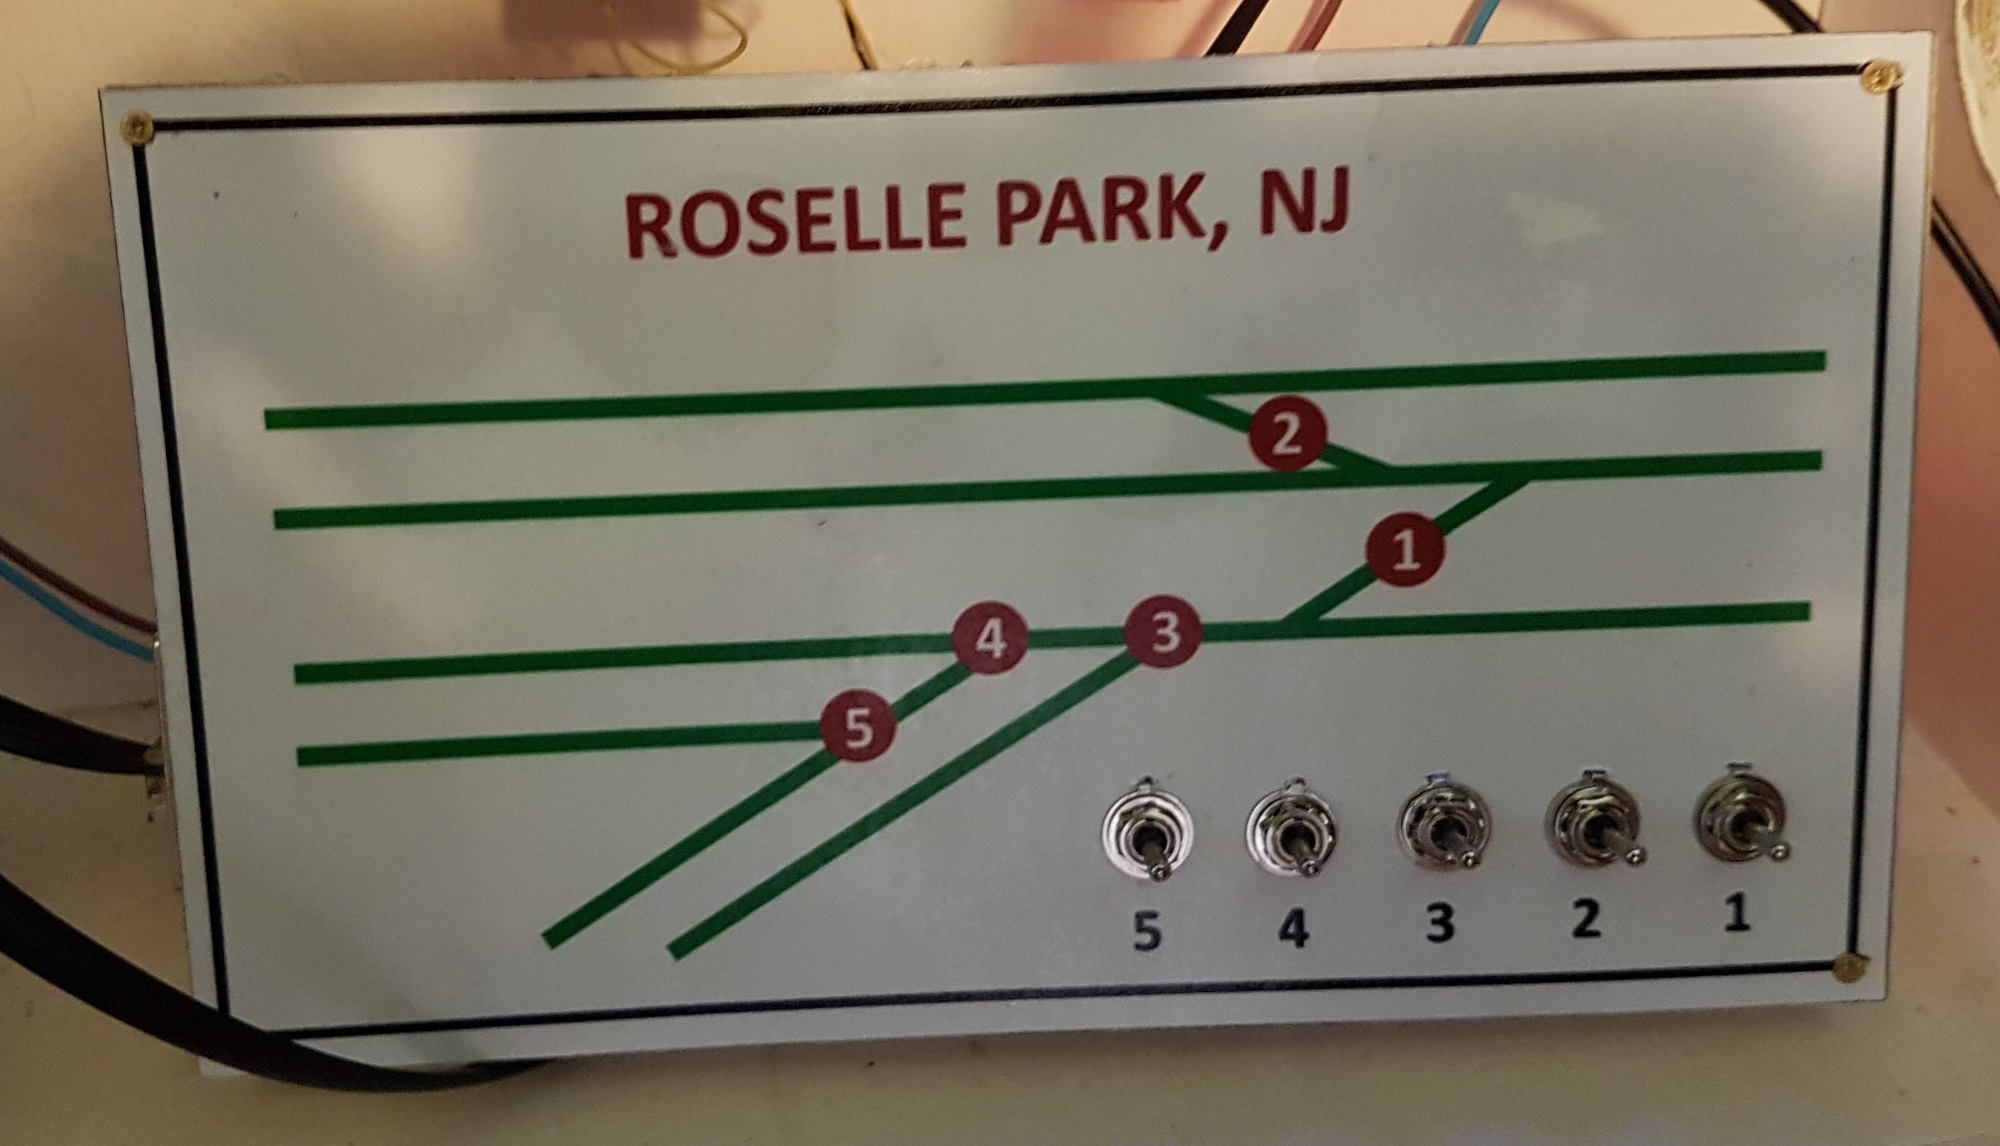
I then added the ‘sniffer’ that feeds the bus to the baseboard, and the master processer board to the back of the panel. And just connected two wires to the ‘sniffer’ and standard plug in RJ12 cable between baseboard and control panel. The master board is a little bit of overkill, as it can take 12 switches and I am only using five of them. But it is convenient!

The ‘learning’ switches on the point decoders made setting up the panel a simpl-ish job with a little trial and error. Next time it will take seconds rather than minutes. And I’m back where I was two months ago, but with the boards reversed, and a nifty control panel – and a running train.

We’ll see how the system works in the longer term, but the pros and cons are much as expected (and already noted above):
- Pro:
- Simple wiring to avoid multi-pin plugs all over the place.
- Easy to set up.
- Con:
- Expensive.
It would have probably been cheaper to use servos and to build my own decoder units from components, but hey, life is short enough as it is! I would use this set up again for a mid-sized layout, ideally with 10-12 points!
Now back to the ballasting and scenery. And adding magnets for decoupling.

Reblogged this on sed30's Blog.
LikeLike