
Well, the vapour-free impact glue dropped through the door, and I was able to get going on the railway again. I had already put together the roof sections for the bridges under the station. Just a simple girder representation from plasticard, but rather satisfying to make.

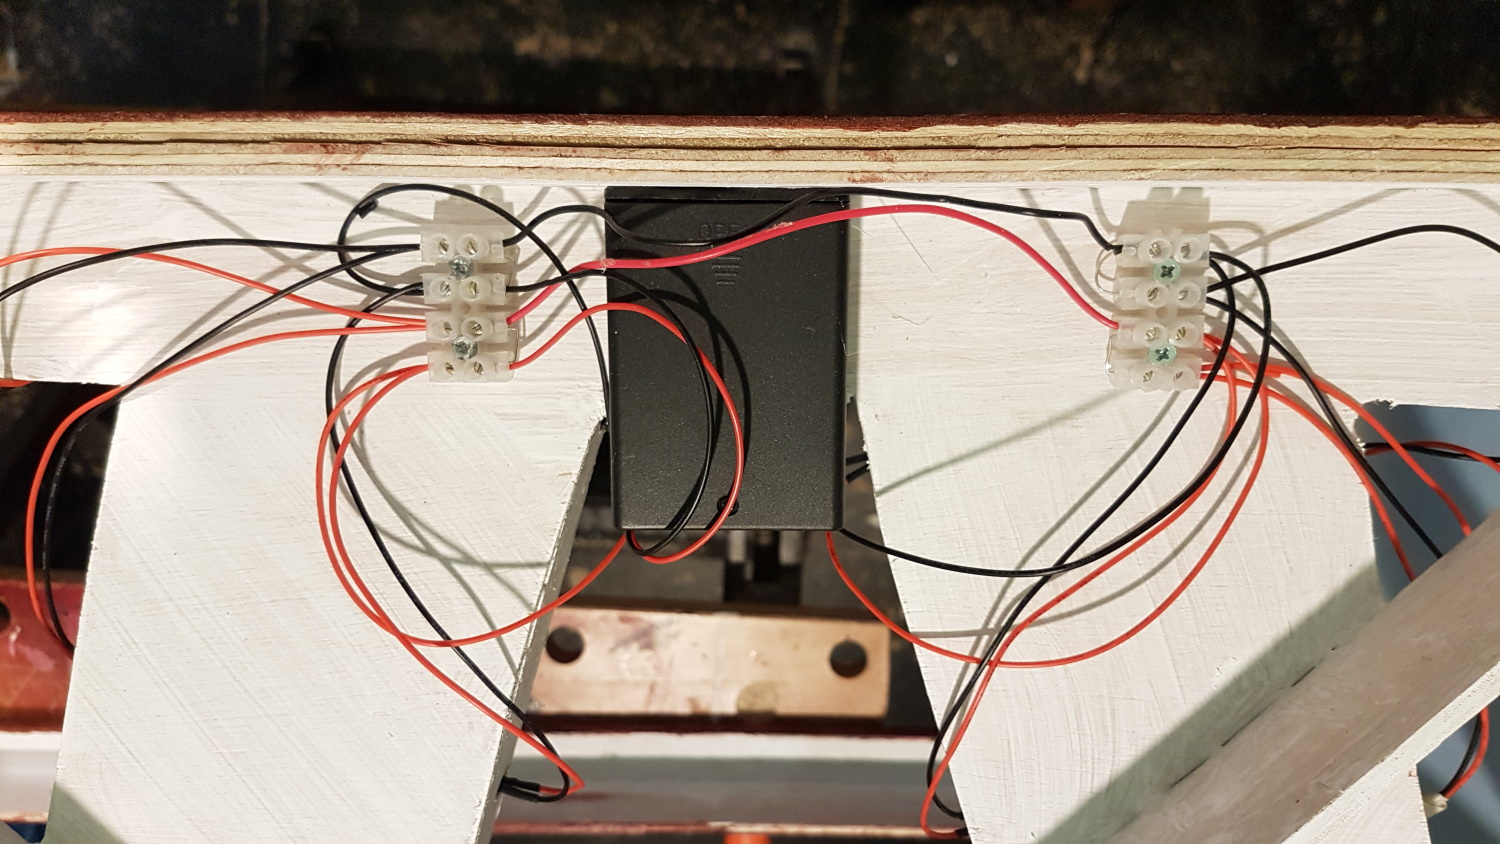
I then wired up all the LED street lamps for the tunnels. Although nominally 12V (with resistors fitted), I tried connecting all eight of them to a simple 4.5V battery pack. This seems to work fine, and I hope that the LEDs will last longer than the railway!
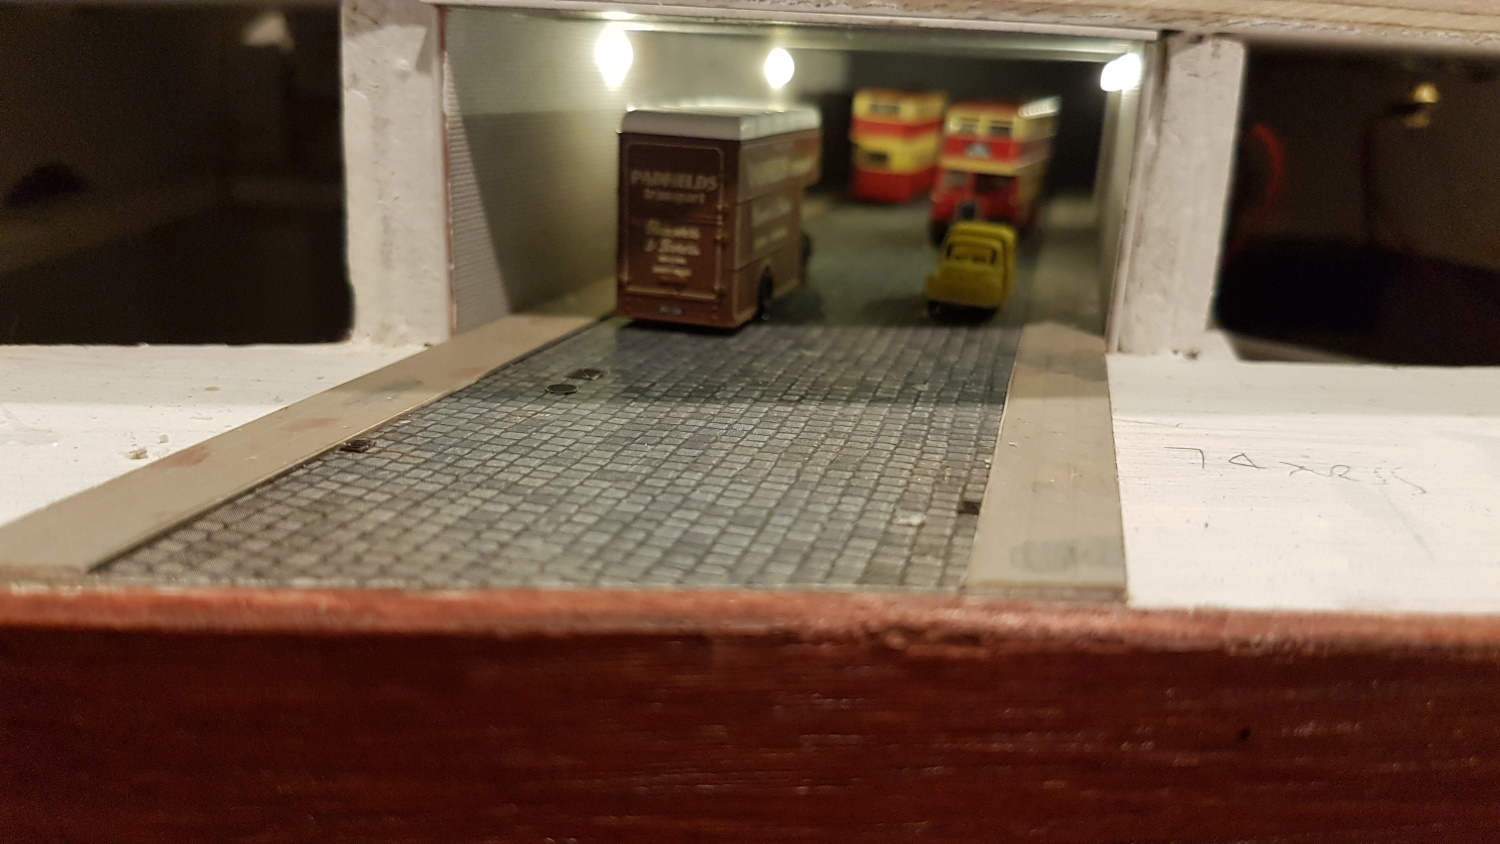
The walls are brick embossed plasticard. They’ve been given a whitewashed finish (probably dating from the blitz blackout), then weathered a bit. Road is embossed card cobblestones. A bit large – more like granite setts, but they look better than a flat paper finish. Pavements are again embossed plasticard, weathered a bit with some individual stones picked out. And in the foreground, note the gulley and manhole covers from Severn Models. A tiny detail, but they look good, and are thin enough to sit on top of the road.

Road vehicles added. I took the Oxford bus a lorry apart and added a driver. Fiddly, but worth doing.

And here’s the final effect.

Last step was to fix the upper baseboard on top. I now have no excuse for starting the trackwork! I’ve worked out where and how to fix the point motors in place, and am also considering where to put droppers onto the track. Using code 40 track is more tricky than Peco, as you can’t get away with the fishplates to carry current between track, and I’m aiming to pre-solder all the wires, to avoid melting the point bases. Not easy…..

