Coupling springs have sprung

This very useful tip appeared in the NRMA British Region magazine.  Most useful for those of us with Microtrains couplers, but now Dapol buckeyes are around it may also apply to them.  It was published under the wonderful title of “Tame those goldarn disappearing springs”….

NMRABR member Cliff South gave us an idea for replacing springs in Kadee couplers.

Put a fine silk thread through the middle when inserting it back in the coupler.  It cannot disappear then…..

So, where have those darned springs flown away to?  Assuming that you can find them, and I have a foot-long piece of wood with strip magnets glued along its length.  Run it over the carpet or lino and you’ll pick them up for sure…

(I hate to think WHAT I’d pick up from our carpet…)

Quite a good trick with tiny springs is to put a very small dot of superglue on just on end before fitting them….

You don’t lose them then as they are permanently attached to your fingers!

Posted in Hints and tips, Inspiration, Layout design | Tagged , , | Leave a comment

Off my trolley – San Pedro

At the end of one line from LA and Watts were San Pedro and LA Harbour.  In the days of large ocean liners, collecting passengers from the liner and transporting them into LA generated a lot of traffic through San Pedro.

San Pedro was adjoined by a maze of PE and Southern Pacific fright yards, that lay between the depot and the harbour itself.  This old panorama gives the idea – the elegant PE depot can be seen centre left.  Note the box motor in the foreground being unloaded.

01 - View

This aerial photograph from 1952 clearly shows the depot and a couple of interurbans standing close by.  Most of the freight lines have been lifted and replaced by the inevitable car parks.

02 - 12901-1952

San Pedro depot is an attractive building and would make a good model.  These photographs show views from the town side.  Note the vintage car, cop car and bus in the colour view.  There are plenty of shots from the rail side available, but I have tried not to step on any copyright toes!

03 - 0006999 04 - San_Pedro_depot

Of course, the full San Pedro station complex might be too large for a manageable model railway.  But if we view the station from the harbour, it might just make a good N-club module.  Here’s a view from the LA end of the station, showing the interesting track layout and the street beyond.  (The depot and all the old structures have been demolished and redeveloped.  Only the multi-storey municipal building remains.)

05 - sanpedro2

And this is the sort of layout one could build.  Unfortunately most of the old valuation maps contained rail lines, but not the PE electric tracks.  At least the depot is shown and gives some scale to the drawing.  A model of the station tracks and the freight siding for box cabs would make a good pair of N-club modules.  The road width behind could be compressed a little, to allow the shops and businesses to be included as background structures.  These buildings would probably be modelled as representative structures, but there might just be room for a recognisable model of the municipal tower.

This is a very achievable PE layout – it would be simplified, but keep the character of the San Pedro location.

06 - SanPedro1921-#1927-depots

Posted in Inspiration, Layout design, Prototype, Traction | Tagged , , , , | Leave a comment

An easier way to ballast your track?

Lance Mindheim  may have come up with a really good idea here….

Effectively applying ballast glue is a challenge at best.  The more powdery soils and small gauge products even more so.  The problem comes with application of the adhesive, specifically the surface tension of the liquid.  Agents such as alcohol and dish soap help slightly but there is always an ongoing battle to minimize craters and channels created by applying the glue with an eye dropper or bottle. Ballast “float” is also a pain in the butt.  I’ve always wondered if the problem could be solved if a powdered glue was mixed with the ballast before application.  I picked up some Dap Plastic Resin Glue from The Home Depot to run a test.  I mixed the powder into some N scale ballast at a rough ratio of 1:5 and spread it some N scale track.  Next, I took a fine mister bottle, filled it with water and rubbing alcohol, and misted it onto the ballast/glue blend.  I let it dry and, voila, it worked!  It seems very solid and I haven’t noticed any major discoloration, shrinkage, or cracks.  The bond is VERY strong.   I haven’t experimented with the best glue/soil ratio although if 1:5 works I’m not sure it warrants a lot of testing time.  This adhesive method would be particular helpful for large surface areas of fine blends such as soil patches and gravel roads.

And a second post tests the idea further….

The initial test on a six inch piece of test track of powdered glue as ballast adhesive showed promise.  I’ve since moved to using it full force on a large N scale project in my shop.  Again, success.  I find it is not only easier to use than traditional liquid adhesive but it’s also easier to get better results.  Better being defined as no floating ballast, no craters, and no mini trenches.  I haven’t yet dialed in the best ratio of glue to ballast so can only say the amount of powdered glue needed is “not much”.  At present I’m putting two, 10 oz. bags of ballast in a bucket with only 1.5 oz of glue and it holds very well (that comes to 1:13).  One caveat is that the glue is very sensitive to moisture in the air and when exposed to it will start to dry.  I’m noticing that after mixing the ballast and glue in a bucket and leaving it over night there was some drying.  That being the case I suggest storing your excess in a container with an airtight lid.  If over time I find I didn’t use quite enough powder the ballast would be knit together enough that a quick follow up with dilute matte medium would be easy to do as insurance.  Finally, there is warning label on the glue container letting you know the powder is a lung irritant and not good to breath.  That is certainly the case so wear your respirator when working with the stuff.

My only question is where to get an equivalent powdered glue in the UK.  Any ideas?

Posted in Hints and tips, Inspiration, Layout design | Tagged , , | 2 Comments

ESNG meeting – 17 June 2015 – and AGM coming

We seem to be having a run of slow meetings.  On Wednesday only two of us were there between 7 and 7:30, to be joined by the Cha(i)rman who had been doing some accidental babysitting.  Four others arrived after 8, but it was too late then to put the layout up and get trains running.

We had a pleasant chat over coffee, but the club depends on having trains up and running at nearly every meeting – and we need some people to help the committee at the start of the evening.  Winge over!  But I think this is a problem with many clubs – not only model railways – at the moment.  People are under such pressure at work, it’s difficult to commit to outside responsibilities, and things like hobbies lose out.  Even for those of us who have retired, or are close to retirement, life seems to speed up by the year – and there is always more to do to help others.

I’m not sure what the answer is.  Does anyone have any ideas?  ESNG offers an evening of running trains for those who haven’t a home layout, or want to run long trains they can’t fit at home.  And hopefully we also offer reasonable company and conversation!  My best idea is to change the name to ESCC – CC for curry club.  We always seem to get a good turnout for any meeting with curry attached….


Hopefully, we’ll get a better turnout for the AGM, on Thursday 2 July.  And perhaps we can discuss some of the above!


Posted in ESNG, ESNG meetings | Tagged , , , | Leave a comment

Direct train to Europe

This is a good post to follow our Berlin adventures, and explains why we had to fly EasyJet rather than get a direct train London-Berlin.  In this article, the BBC looks at the new Eurostar service to Marseille and gives some thought to why we haven’t got direct trains elsewhere in Europe….

You can now board a train in London and a few hours later get off by the Mediterranean – the new direct service between St Pancras and Marseille is the furthest passengers have ever been able to go on a train from Britain without getting off. But why, more than 20 years after the Channel Tunnel opened, have direct services to the rest of Europe been so slow arriving?……

In a way the most straightforward problem to explain is the technology.  You can’t run any old train through the tunnel – currently only the Eurostar trains themselves comply with safety regulations.  In addition you need to have all the signalling systems on board for every country you pass through – and no two major countries use exactly the same system. Eurostars are already crammed with the equipment for the UK, for France and for Belgium and there’s physically no room for anything else….

One factor which may have changed since Eurostar began is how long passengers will sit on a train.  After 9/11 air travel started to become far more time-consuming….   People used to say no-one wanted to be on a train for more than three hours but I think four would now be more accurate.  That’s talking about business travel. If people are travelling for leisure – and if we can make their journey definitely part of the holiday – then probably six or seven hours is acceptable to the right destination……

The start of Eurostar pretty much coincided with the launch of budget airlines in Europe. That did for some of the more ambitious plans and competition with air is the second big consideration hindering expansion…..

The third big problem complicating expansion of services through the tunnel (is) Britain not being part of the EU Schengen treaty and retaining passport controls…

.But this is a very poor excuse…

“Sadly some very attractive destinations are in the wrong place. How wonderful if you could get from London to Barcelona in under four hours on a train. Unfortunately geography is in the way.”

_83275415_hi027006414

Posted in ESNG, Inspiration, Out and about, Prototype | Tagged , , | Leave a comment

The Bartlett’s in Berlin – 3

The area around the Warschauer Str. terminus is of both railway and historic interest.  Behind the station itself is this small maintenance shed, and a large carriage shed.  I don’t think Lidl are now operating trains!  Although I didn’t see any trains enter the shed, I suspect the trains are on the elevated level and there is a Lidl store underneath.  At least, I hope so…..

b-3-1 b-3-2

Leaving the terminus, the train crosses the River Spree by the Oberbaum bridge.  This was a Cold War crossing point from east to west, and trains were unable to cross the river to the Warschauer Str. terminus.  Old aerial photographs show all the tracks lifted.  But with reunification, the terminus came back into use.  The 3 photos below are taken from where the Berlin Wall and crossing point would have been. The longest remaining section of wall, decorated with murals lies behind me as I took the photos.

b-3-3 b-3-4 b-3-5

After crossing the bridge the line curves away to the right.  This location is very model-like, and would make a fine scene for a model railway.  The second shot comes from Wikipedia, I’m afraid, as we didn’t manage a boat trip on the Spree (Ruth was worried that they would be full of Barcelona and Juventus supporters – not a nice thought in a confined space), and this is such a good shot of the attractive bridge structure.

b-3-6b-3-7

The next station along the line, Schlesisches Tor, is a fine piece of railway architecture (as is the next station along).  Many of the other stations along the line are simple train sheds, perhaps indicating war-time bomb damage.

b-3-8

To close out our Berlin adventures here’s a video of the U-Bahn, an alternative form of transport of the Spree (I love float planes, but you wouldn’t catch me on anything smaller than a Sunderland), and the family at the amazingly OTT Russian war memorial at Trepnow Park.

b-3-9 b-3-10

Posted in ESNG, Inspiration, Out and about, Prototype | Tagged , , , | Leave a comment

The Bartlett’s in Berlin – 2

Just next to the Warstrauer Str. U-Bahn station was the S-Bahn station and the DB main lines.  I suppose in UK London terms, the U-Bahn is like London Underground, whilst the S-Bahn is more like London commuter trains – the stations are further apart and the lines are generally above ground.  The S-Bahn trains we travelled on looked to have more wear and tear than the U-Bahn – perhaps new units are due.  Both systems use a raised 3rd rail, as shown below.  I guess this system is easier to keep going in the winter snow, and not prone to complete failure, like the low-level UK system.

b-2-1 b-2-2 b-2-3

Next to the station were carriage sidings, mainly holding sleeping car trains.  I was pleased to see that DB also have a problem with graffiti.  And even more delighted to see a real-life Talgo train parked in a siding.  These lightweight carriage sets, with a single pair of wheels on each carriage, fascinate me.  I’ve always admired models of them, but the real thing was even better.  Not sure I want to travel on one though – I’d rather have 8 wheels under me.

b-2-4 b-2-5

On the other side were the DB main line tracks, coming in from what would have been East Germany in the past.  There was an interesting mixture of ICE high speed trains, inter-city locomotive hauled stock, and local multiple units.  And what to me seemed a rather antique diesel helping shut the yard.  No goods trains, though, so close into the centre of the city.  The civil engineering work being carried out appears to be adding more main line running tracks.  It was good to see a system that is actively adding capacity to its lines.

b-2-6b-2-8 b-2-7 b-2-9 b-2-10

My next, and last, post of Berlin will return to the U-Bahn.

Posted in ESNG, Inspiration, Out and about, Prototype | Tagged , , , | Leave a comment

The Bartlett’s in Berlin – 1

Maxine and I recently spent a long weekend in Berlin, visiting our eldest daughter.  We thoroughly enjoyed Berlin, despite having chosen to visit the same weekend as the Champion’s League (football) final.  It’s an interesting city, the greenest in Europe, with all those Cold War connotations, and endless quality museums (no we didn’t visit the currywurst museum).

And there was considerable railway interest as well.  Although it was coincidental, as Ruth works in the hotel, I was delighted to be able to sit at breakfast and watch yellow U-Bahn trains enter the Warschauer Str. terminus, elevated on an attractive brick viaduct, with yellow bendy-trams in the adjacent road.  Here’s the view leaving the hotel….

b-1-1 b-1-2 b-1-3 b-1-4

That’s what I call a location!  The final photograph is looking down to the River Spree and the location of a long remaining section of the Berlin Wall.  We didn’t need to take a tram ride, but I was very impressed by the compact articulated units, that could turn on a radius better suited to a small 4-wheeled car.

b-1-5 b-1-6 b-1-7

We used the U-Bahn extensively, especially as we were just 3 stations from Ruth’s apartment.  This final shot today is the little 2-car train that shuttles from the central Berlin station, Hauptbahnhof, two short stops to the Brandenburg Gate (unfortunately taken over by EUFA for a football exhibition, but still a sight to see).  It’s some time, I think, since I went on a 2-car train, and this was an older unit with metal handles that opened the (powered) sliding doors.  The central station is just a few years old, and it is quite something – a brand new steel and glass station that looks more like Bluewater or an airport with the shopping malls on several levels.  Even the trains are on three levels, and two levels cross at 90 degrees.

b-1-8

Friday was a full day’s tourism, to allow Ruth to get a little work done.  Packed into the day were the Brandenburg Gate, the Holocaust Memorial and the underground Holocaust Museum (moving, gruelling, but an impeccable presentation).  Then on to the parking lot site of Hitler’s bunker, to Checkpoint Charlie (nothing to see, a tourist trap, but for those of a certain age, walking through Checkpoint Charlie just has to be done), and finally to the Jewish Museum (an interesting museum in a fine building).  Well, they were all in the same part of the city and more or less on a straight line.  After that we slowed down a bit!!

Next time, the S-Bahn and main line DB trains.

Posted in ESNG, Inspiration, Out and about, Prototype | Tagged , , , | Leave a comment

Why do layouts fail?

Good words from Lance Mindheim:

When I work with a design client, one question I always ask is why previous layouts didn’t get off the ground and gain critical mass.  After almost fifteen years the answers haven’t changed.  The three reasons layouts fail, the three headed monster if you will are:  the layout dimensions were too large, the design was too complex, or poor ergonomics.  It’s not uncommon to have all three at once.   The one issue that, to this day, has never come up is a layout that was too small or simple.  Nobody has ever said, “Well the layout was too simple and I quickly got bored with it.”  It just doesn’t happen.  Where we get off track is grossly missing the mark in terms of how little track it takes to keep us blissfully entertained.  It doesn’t take much, even if we aren’t ‘pure operators’.  For those that are operators, as our knowledge increases, the necessary track volume decreases further.   Here’s a design exercise for those of you with a typical large bedroom or half basement to work with.  Set a hard and fast limit of fifteen turnouts and stick to that.  It will take some discipline but see if you can come up with a design that sticks to that limit.

The third trap, ergonomics, is dangerous because it’s so subtle.  Our discomfort and dissatisfaction with a layout with poor ergonomics is often hidden in our sub-conscious.   We find our enthusiasm dwindling with each passing year and aren’t sure why.  The key word here is ‘easy access’.  It is absolutely critical that ALL track be within easy ‘grab and go’, arms reach, accessible distance.  For your average person this means no further than 27 inches from the fascia.  It also means avoiding hidden track at all costs.  Long tunnels, hidden staging, hard to reach staging are deal killers.  The scary part is the problem isn’t so obvious during the first year when your enthusiasm is so high that you are willing to overlook any and all inconvenience.

I’ve mentioned before that I’m frequently viewed as a champion of small layouts.  That’s not the case at all.  I’m a champion of designs that quickly and easily get people immersed in the hobby.  It just so happens that for most people smaller and simpler layouts are the best way to do that.

We could all learn from this – simple layouts are best.  If you have a large space available for the railway, don’t take on Clapham Junction, just spread out a few turnouts over a larger area…


Posted in Hints and tips, Inspiration, Layout design | Tagged , , | 1 Comment

Off my trolley – Pacific Electric to Watts – 3

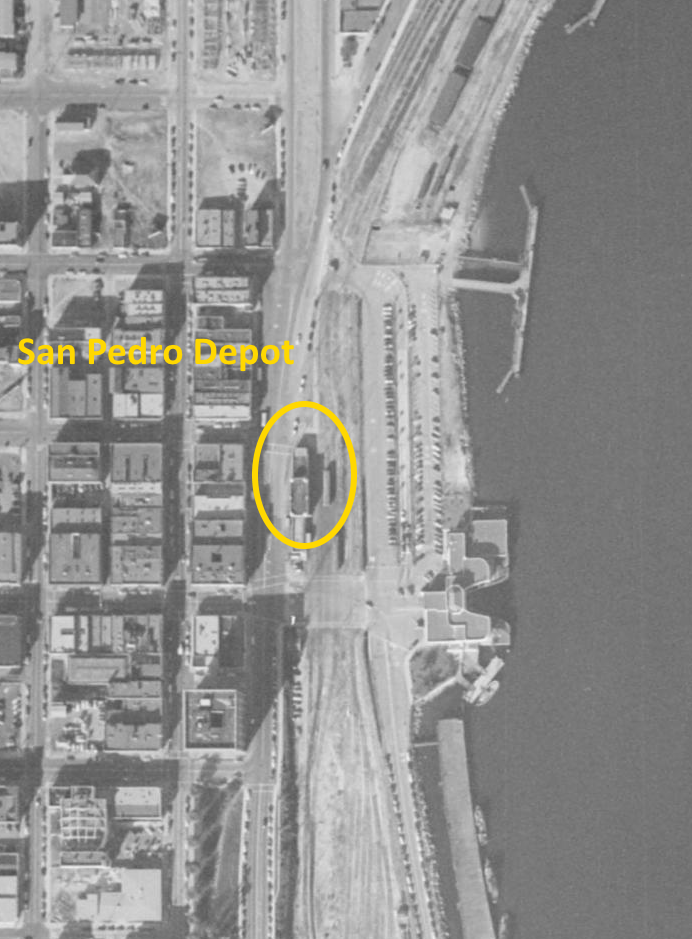
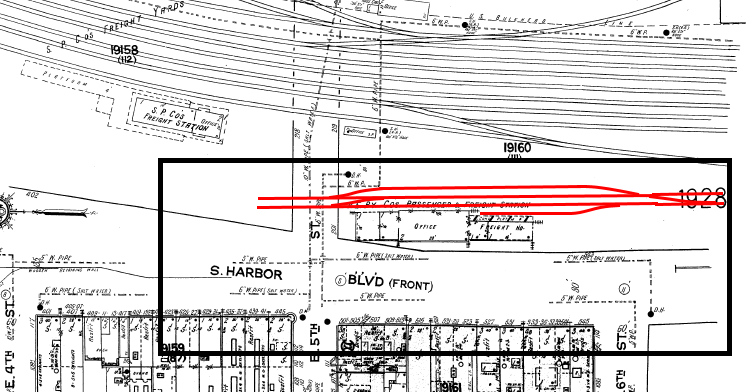
Finally, could one model the northern end, at Oscar’s junction, or the southern end, at Watts, of the four-track main line?  The prototype track layouts below are taken from the Model Railroader article.  Both have real potential as stand-alone layouts, but may need some adaptation for modular use.  I haven’t drawn these up, as yet, but just suggested a few modifications for modular use.
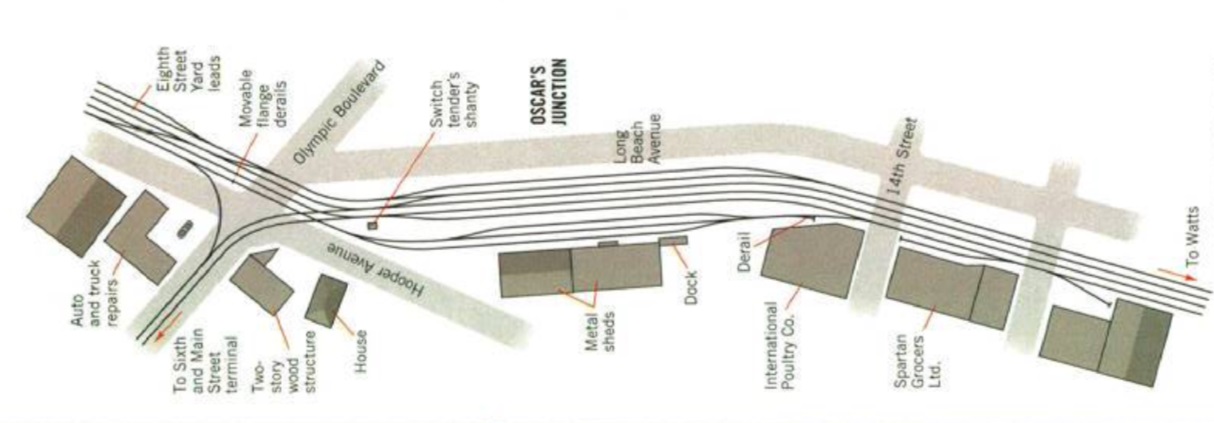
Oscar’s Junction

Perhaps Oscar’s Junction is the easier of the two.  There are four tracks all the way through from the Watts end to the Eighth Street Yard leads.  One would, however, have to accept trains running through the small yard on the opposite side of the tracks to Long Beach Avenue.  Incidentally, the metal sheds in the yard were still standing just a few years ago.

If building this for N-mod, it might be best to flatten out the gentle S-curve of the prototype.  The double track lines leading to Main Street Terminal could provide an N-club link, provided an extra link was added between the double track section and the small yard.  Perhaps there is indeed potential for Oscar’s Junction and modules?

oscar_plan

Watts

Watts is rather more difficult.  The station itself and the single freight road would be easy to model.  The slips and crossovers leading from all four tracks into the car shed and yard would also be easy to model, although care might be needed in track laying with the slips on the main lines.

The main modular challenge is the triple junction, as the main lines scatter to various destinations.  One option would be to simply run four tracks past the car shed and keep the linear modules.  This would look good, and make an interesting model, but it would loose something of Watts’character.  A better option would be to modify the track layout slightly, so that one of the three lines (probably the one to Long Beach) becomes a dummy junction.  The other two double-tracked lines could then link up in a loop and form an end loop for an N-mod linear layout.  Looking more closely, the links are actually already there – the Santa Ana line can run from tracks 1 and 3, and the Torrance line from tracks 2 and 4.  This would need an operator in charge, as there is a diamond crossing where lines 2 and 3 cross!

Yes, Watts is difficult, but it still has potential for an N-mod layout.

watts_plan

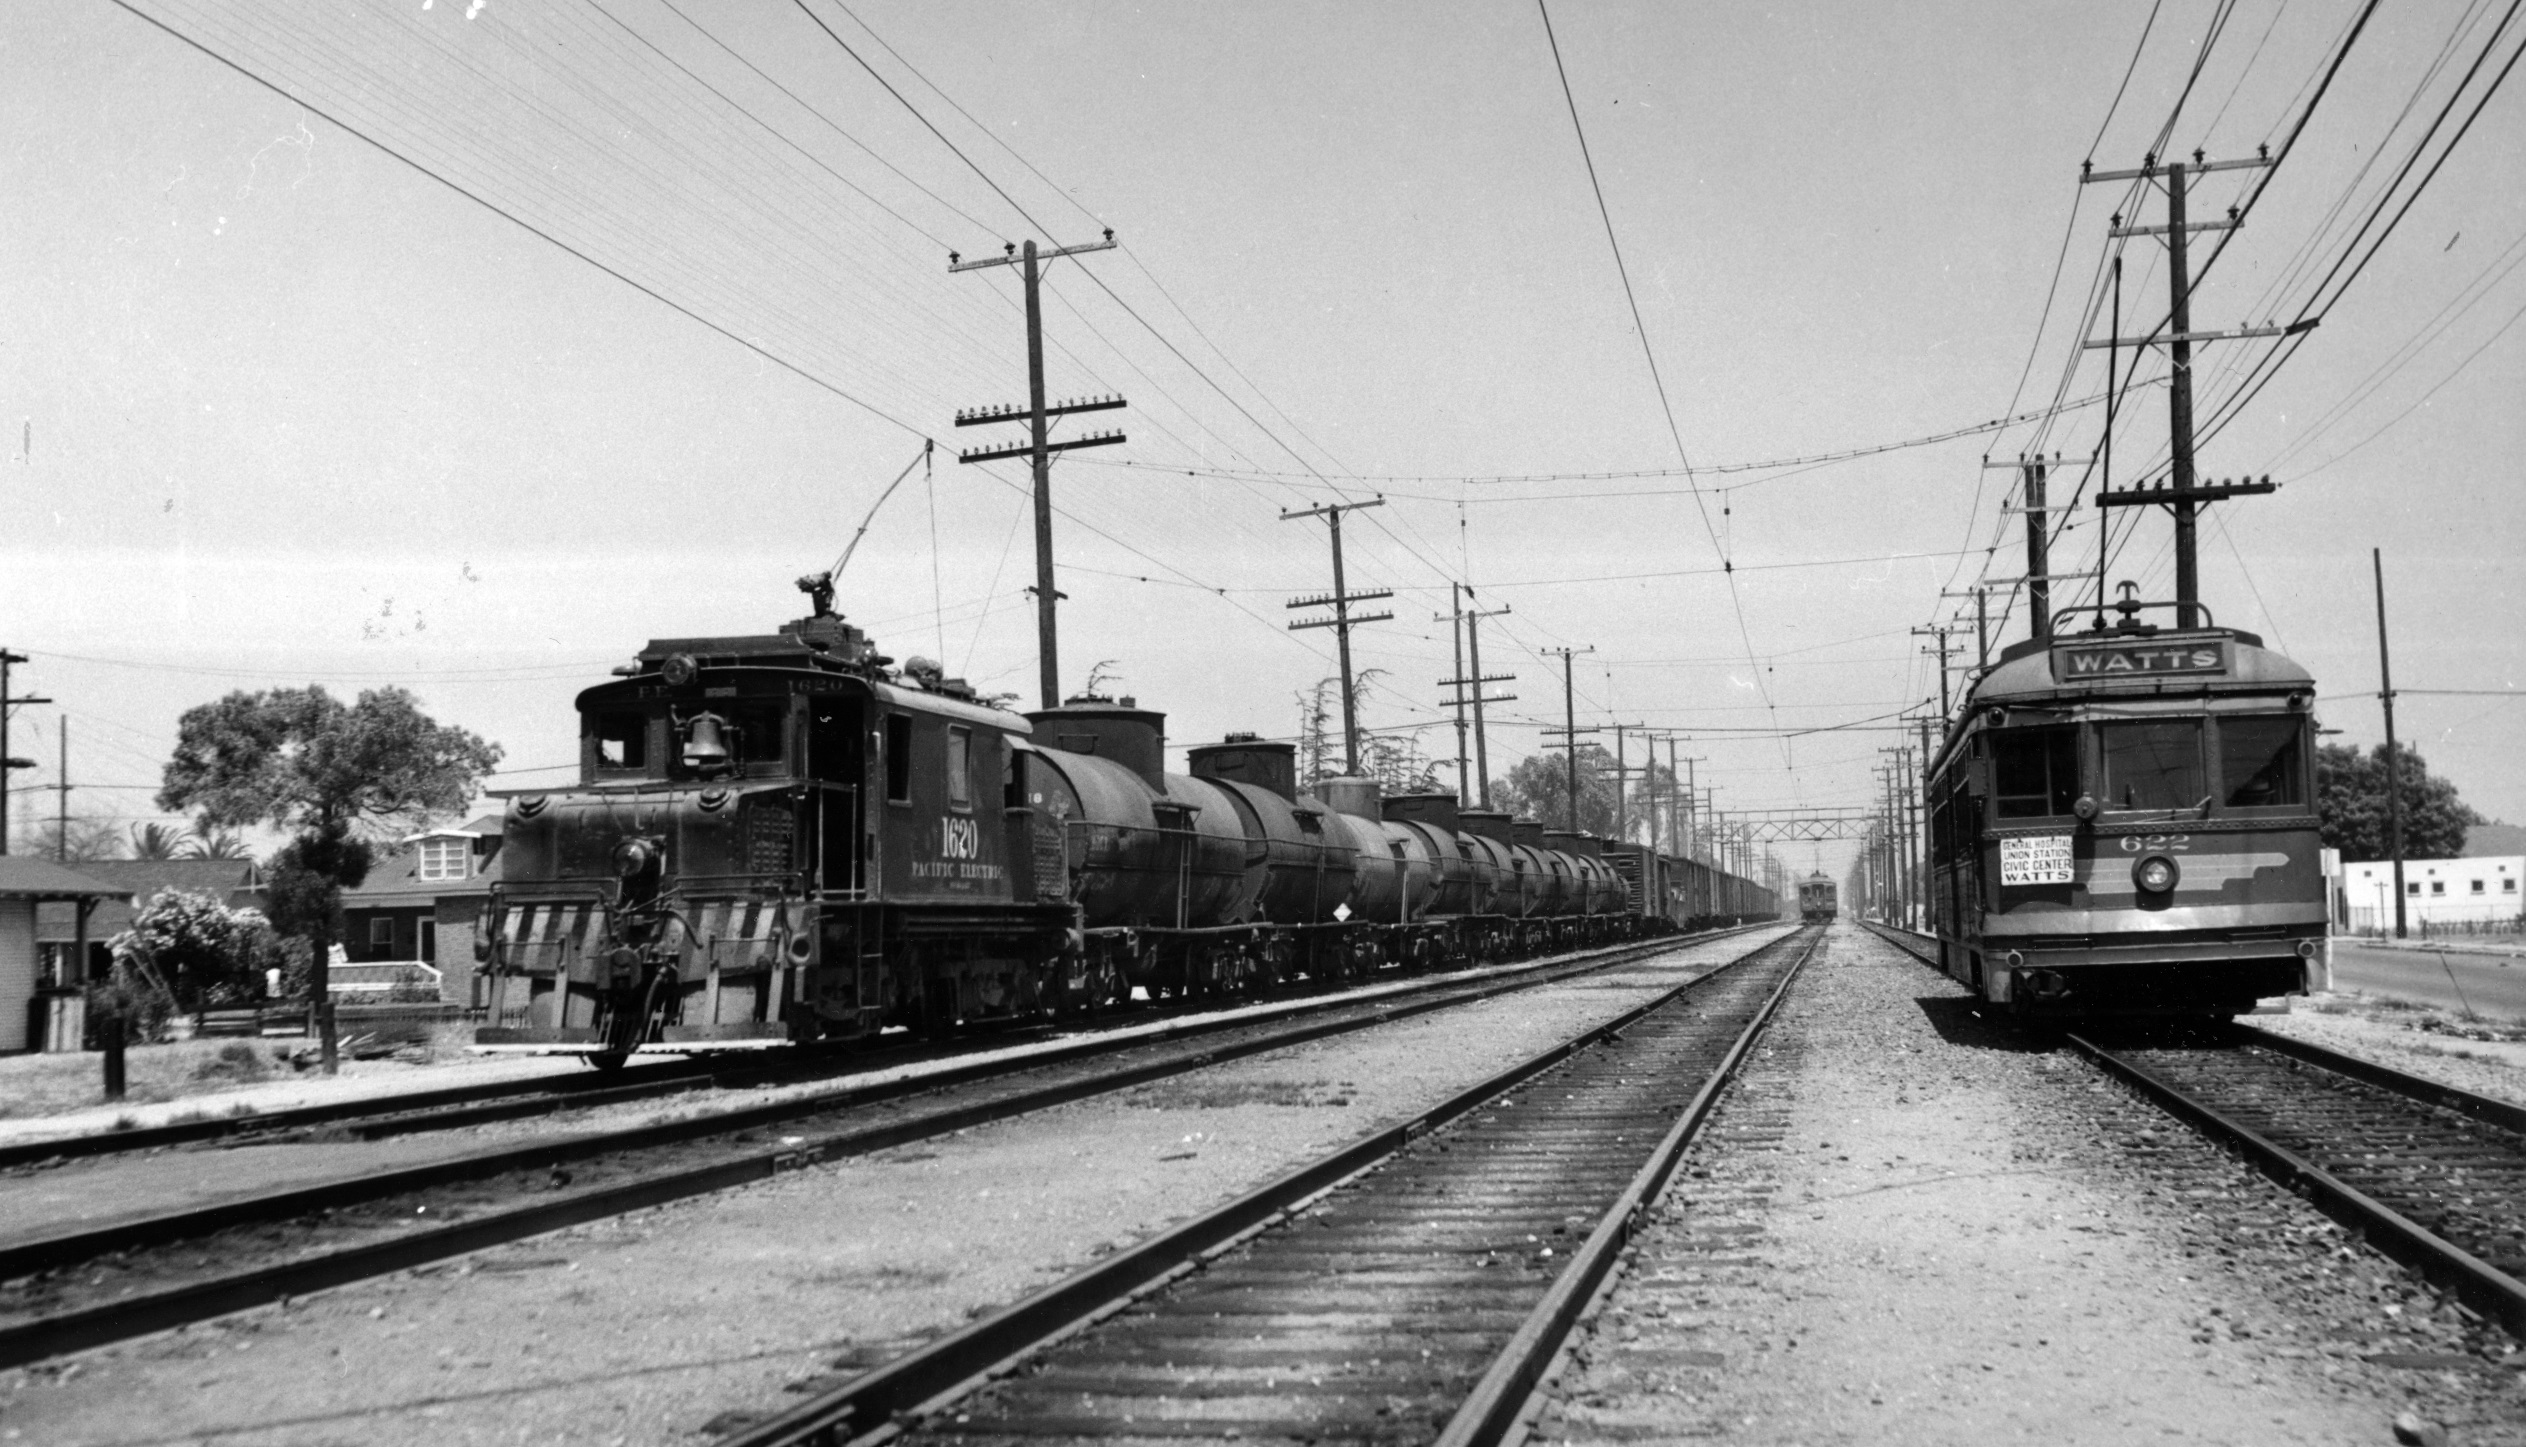
And here’s a final photograph, taken just north of Watts in 1948 (by G. Krambles) showing the character of the main line.


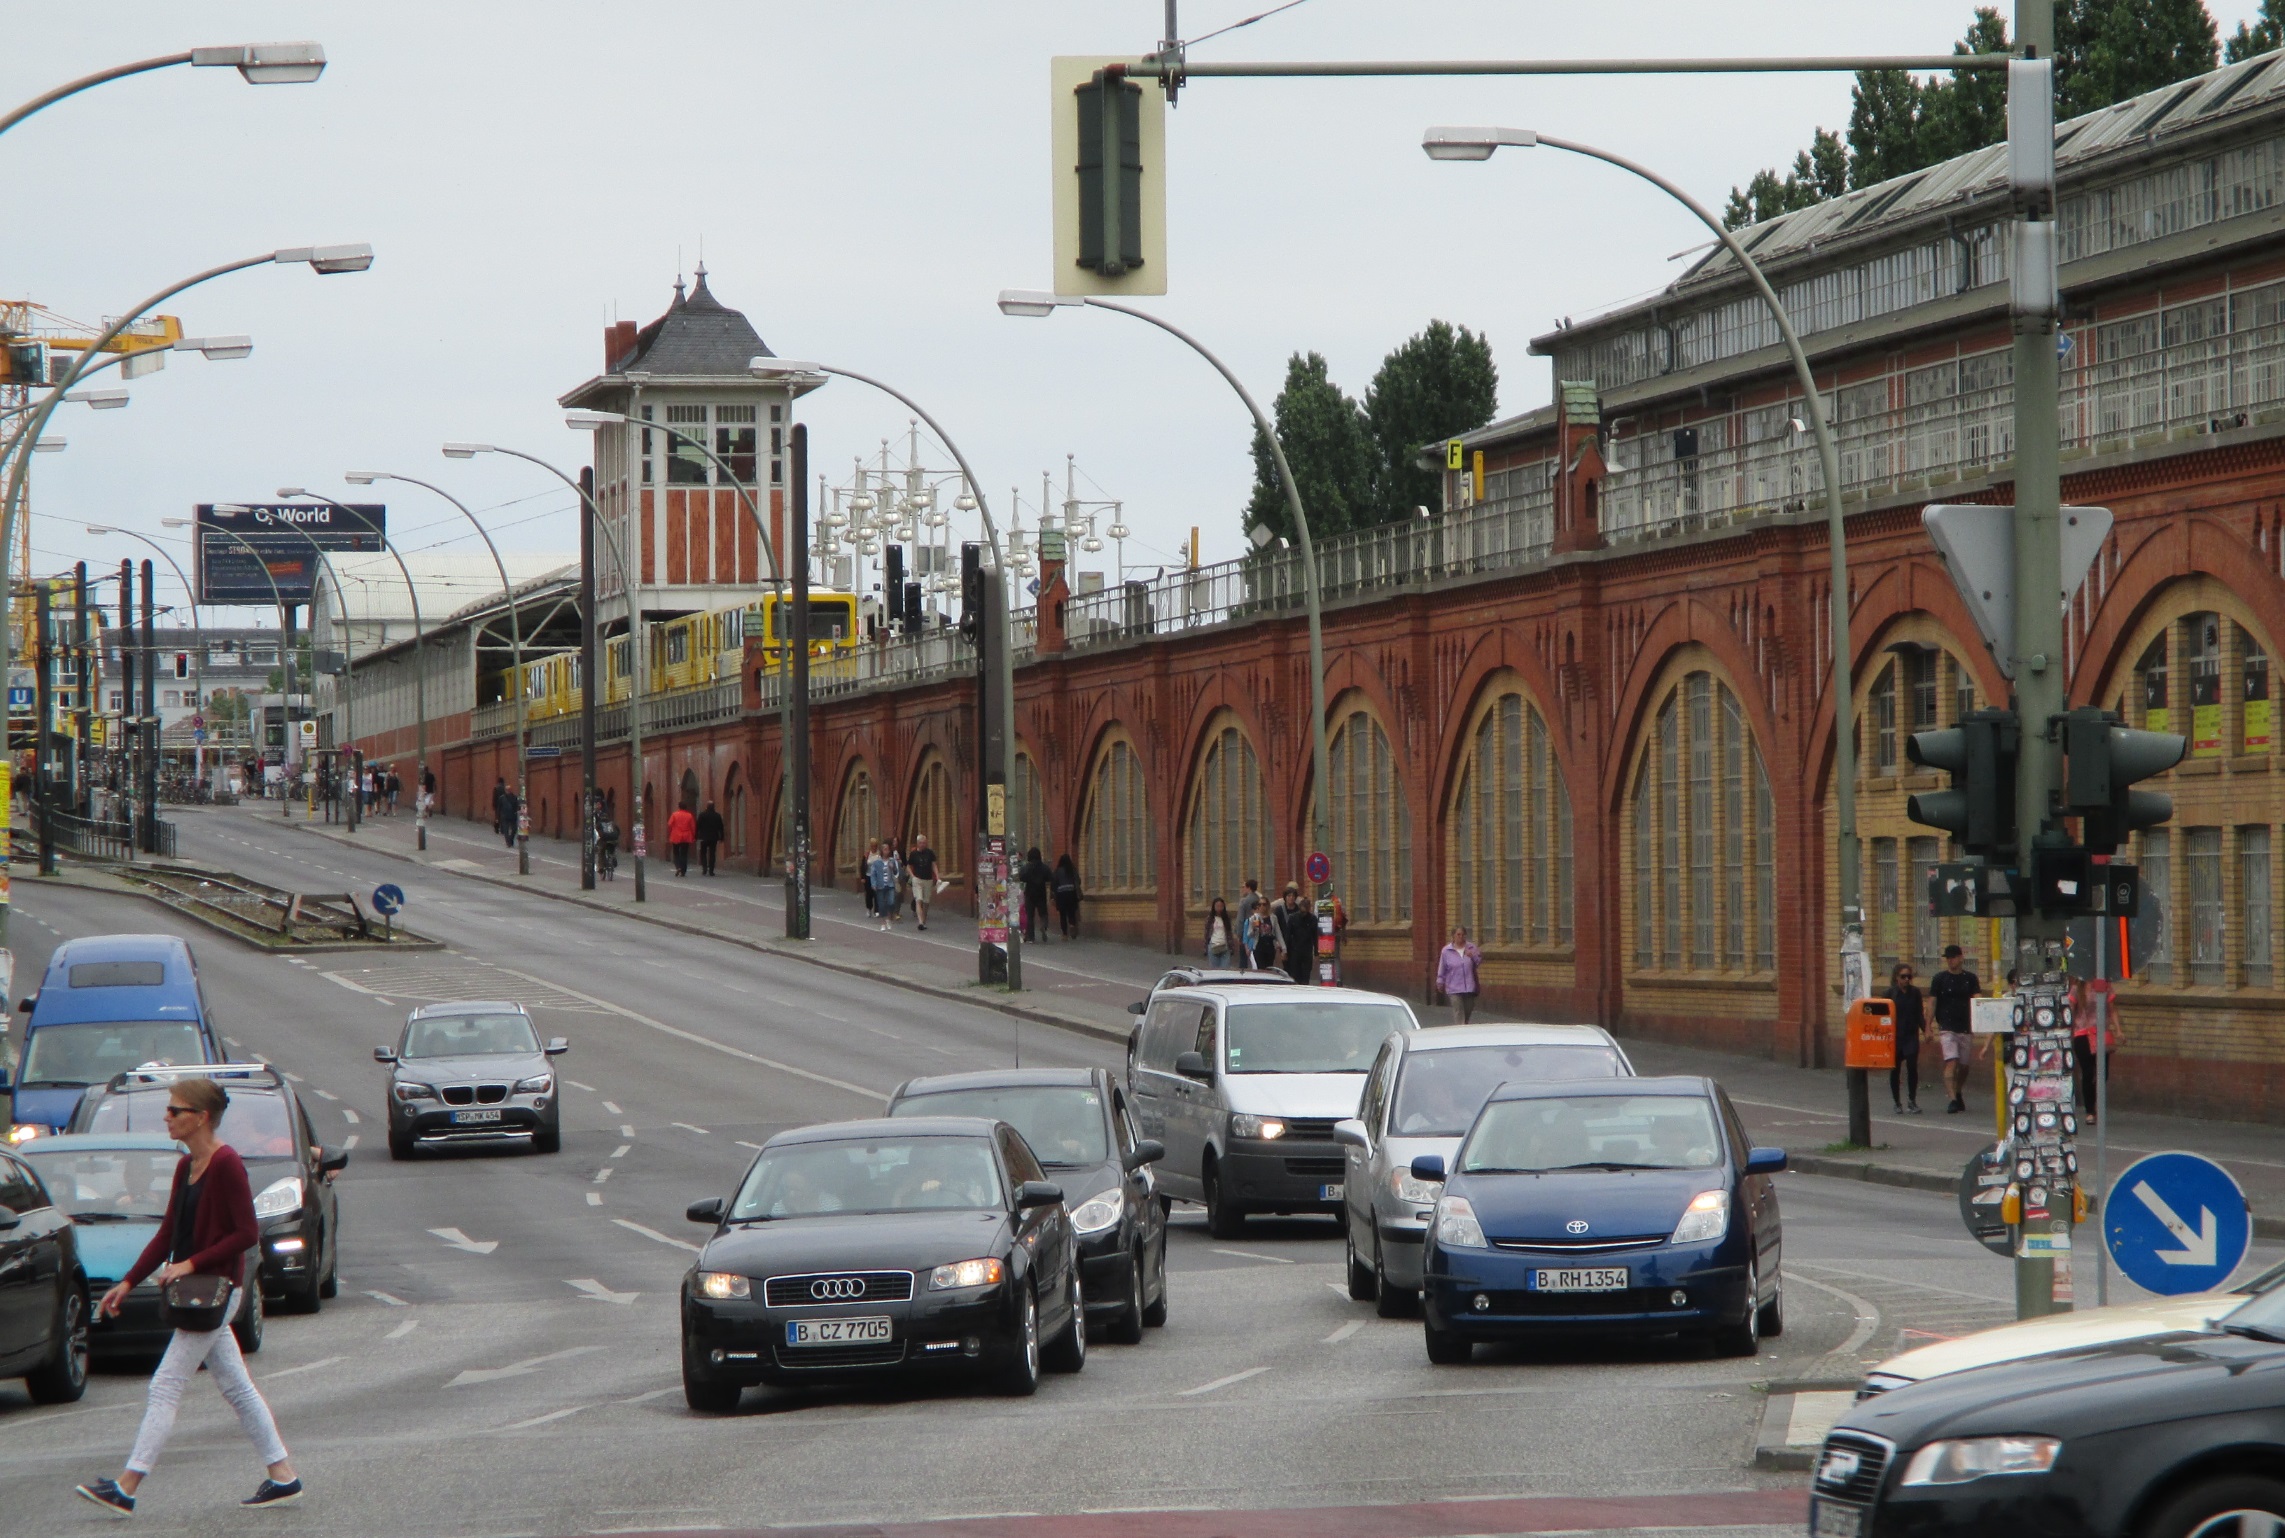
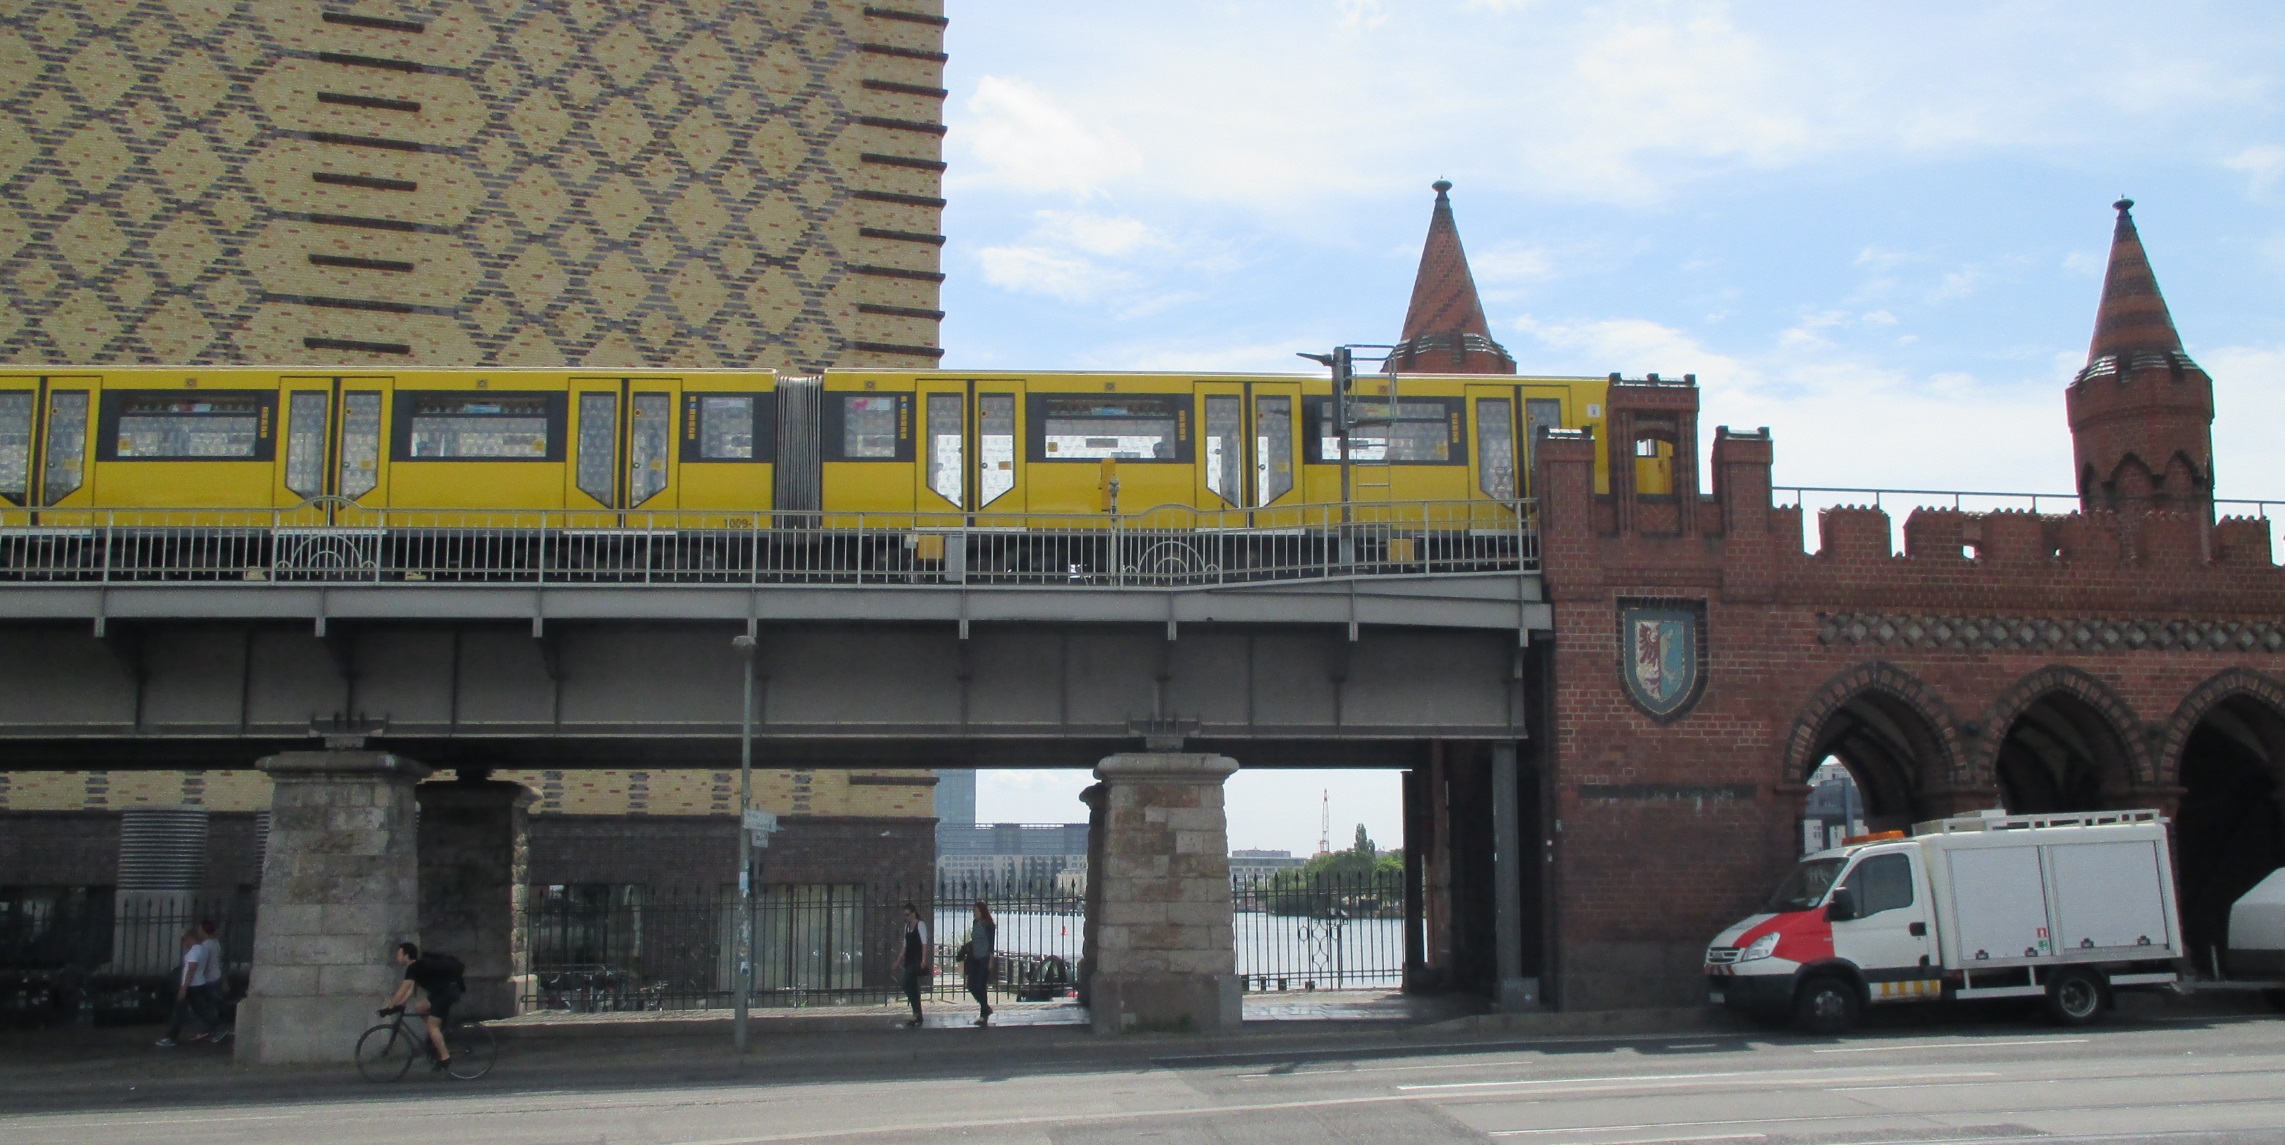
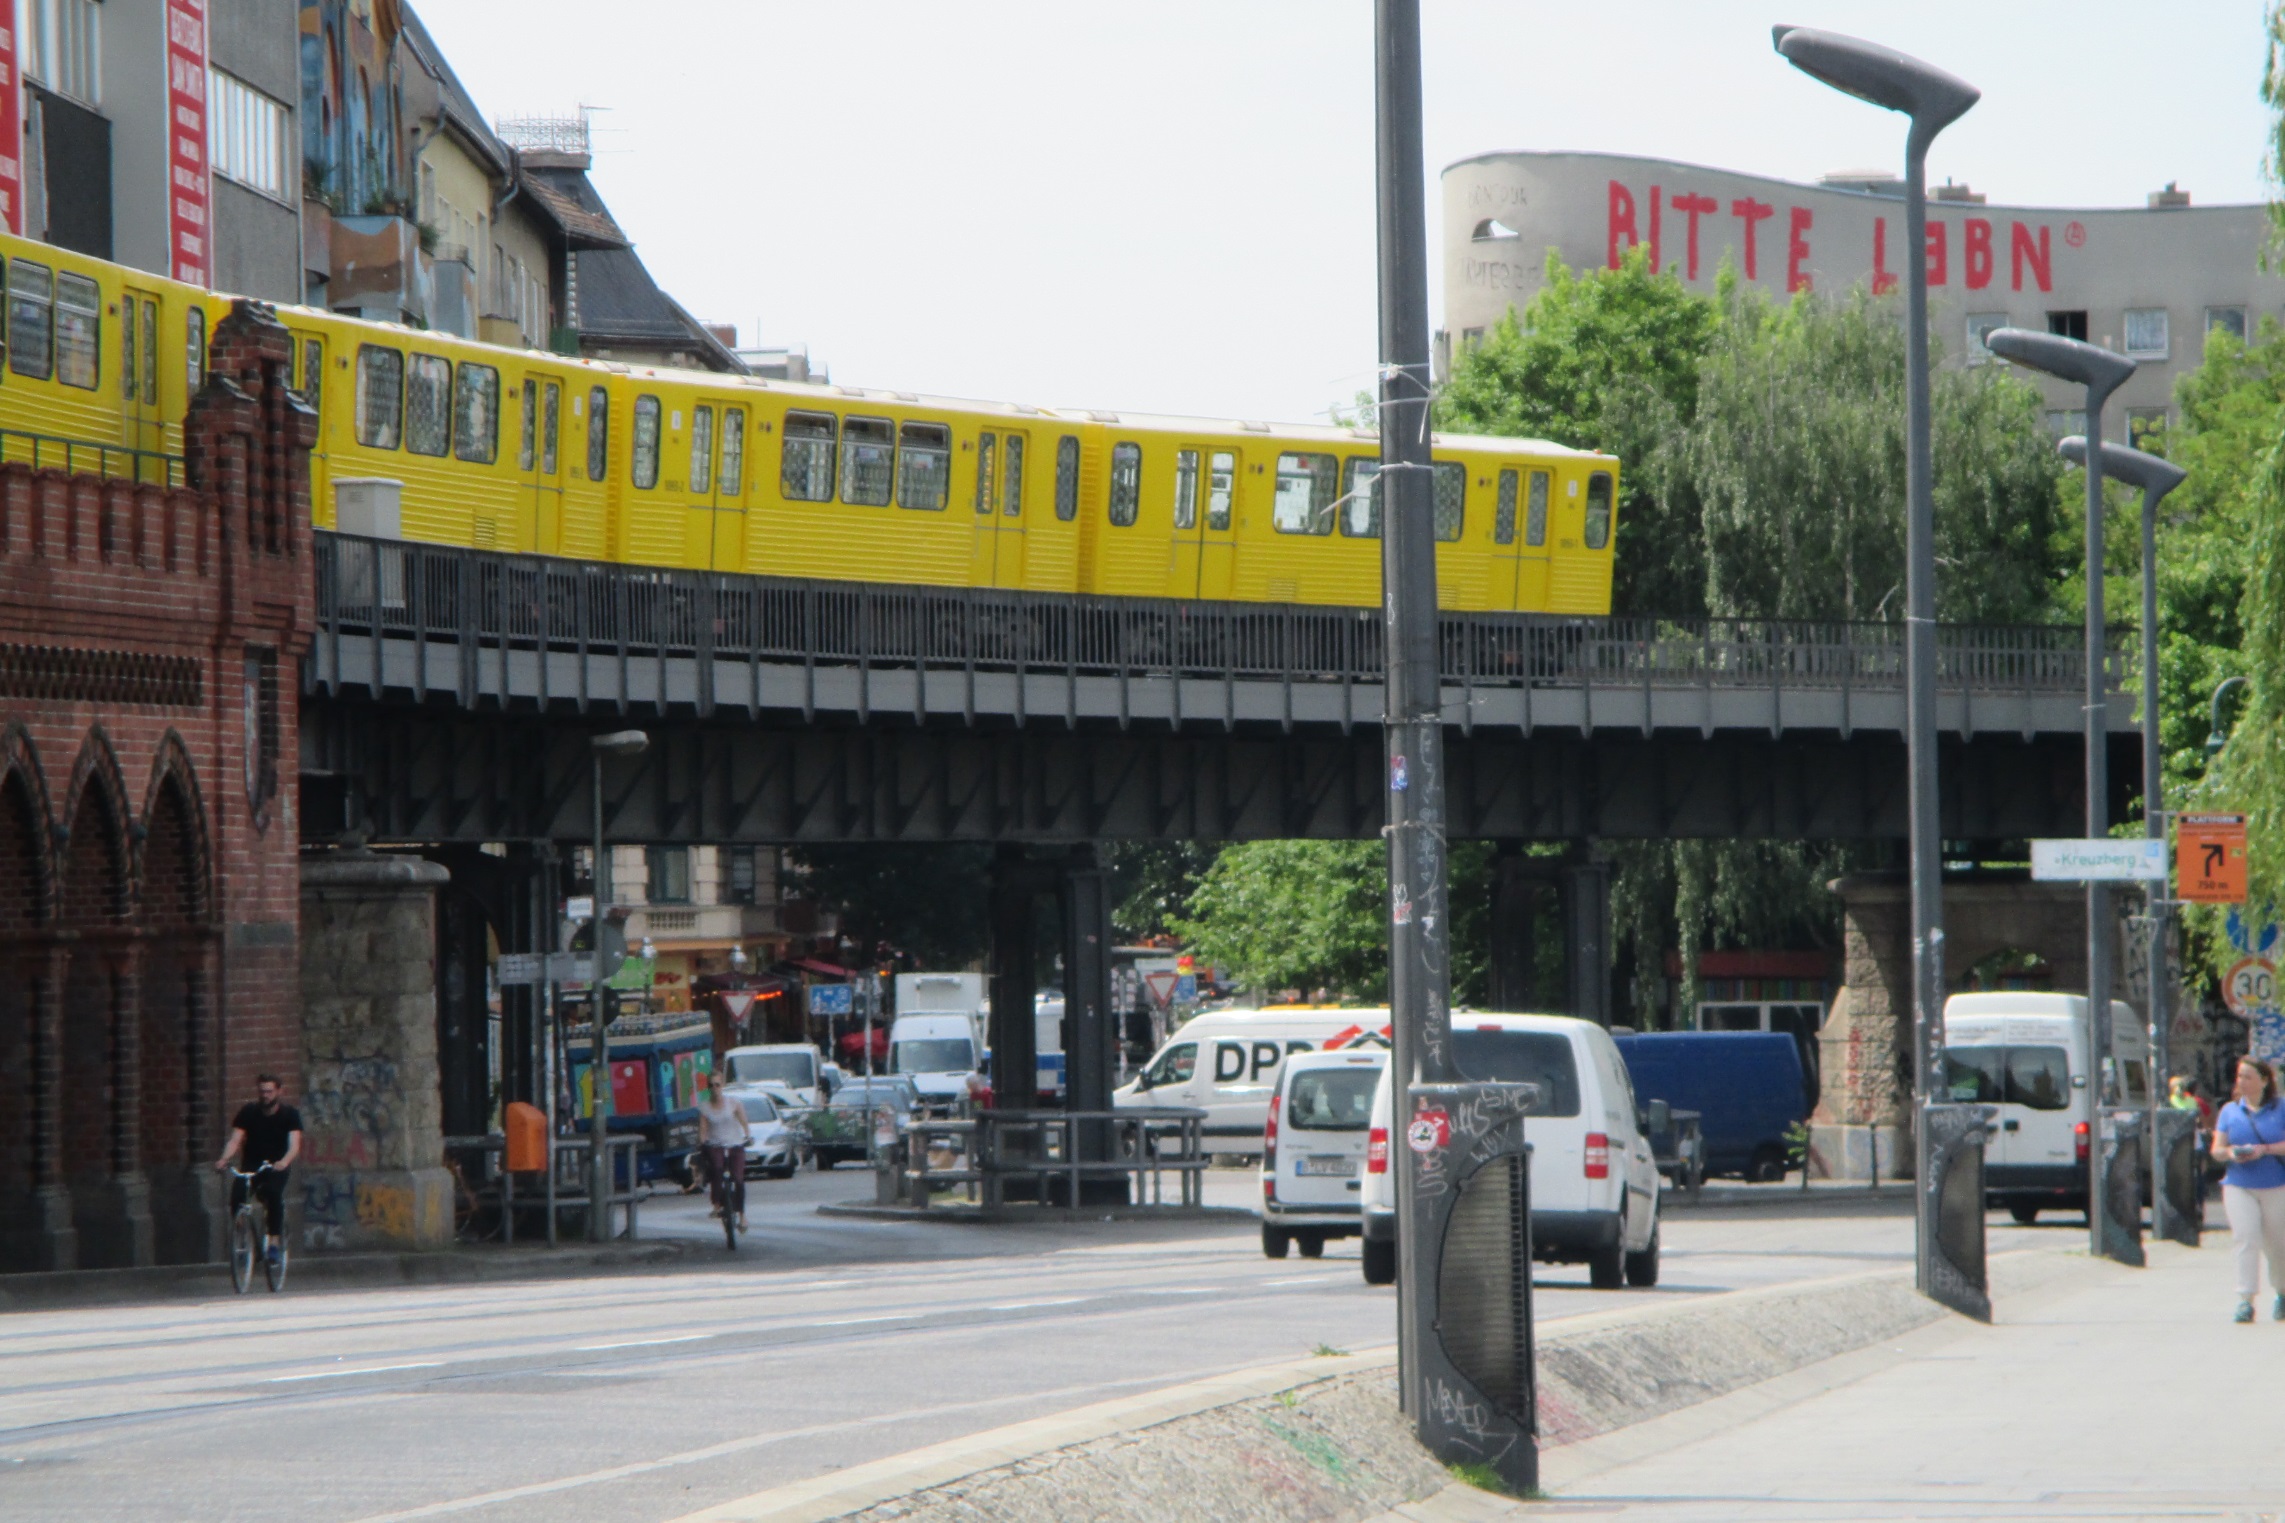
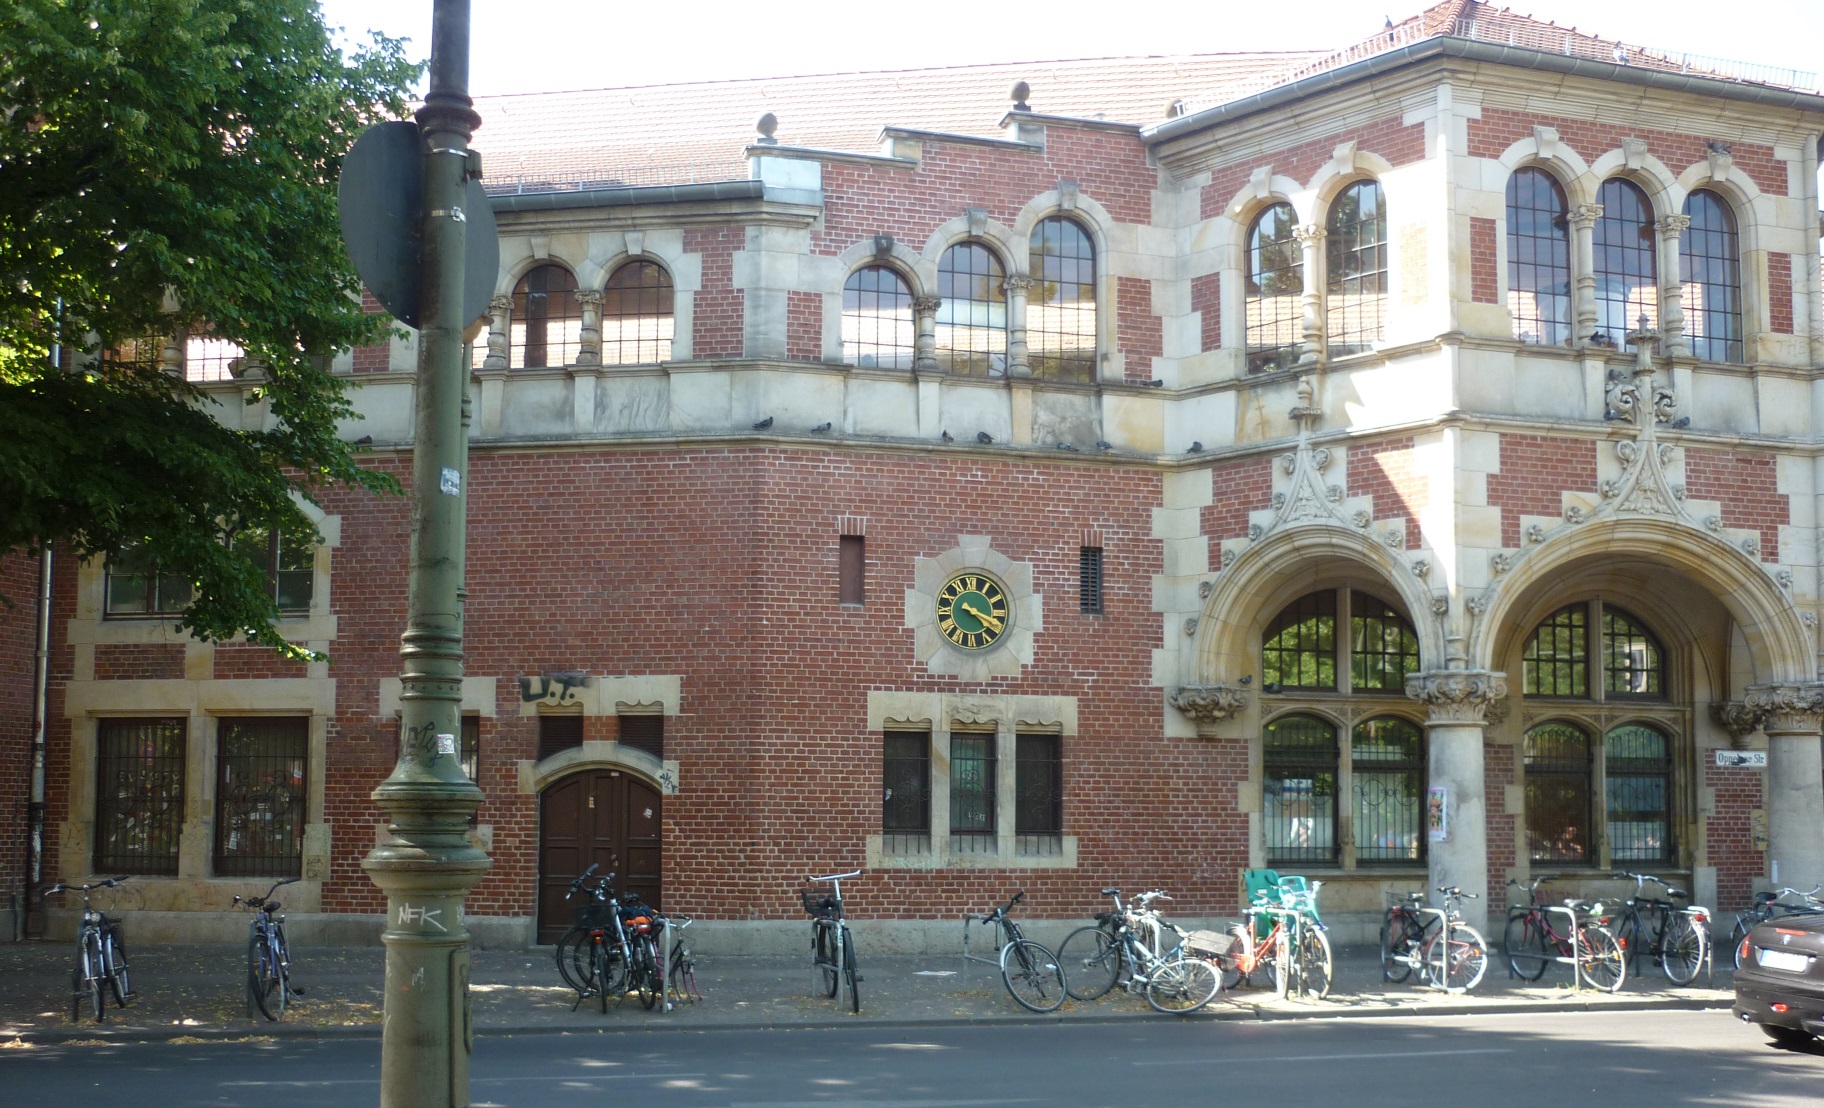
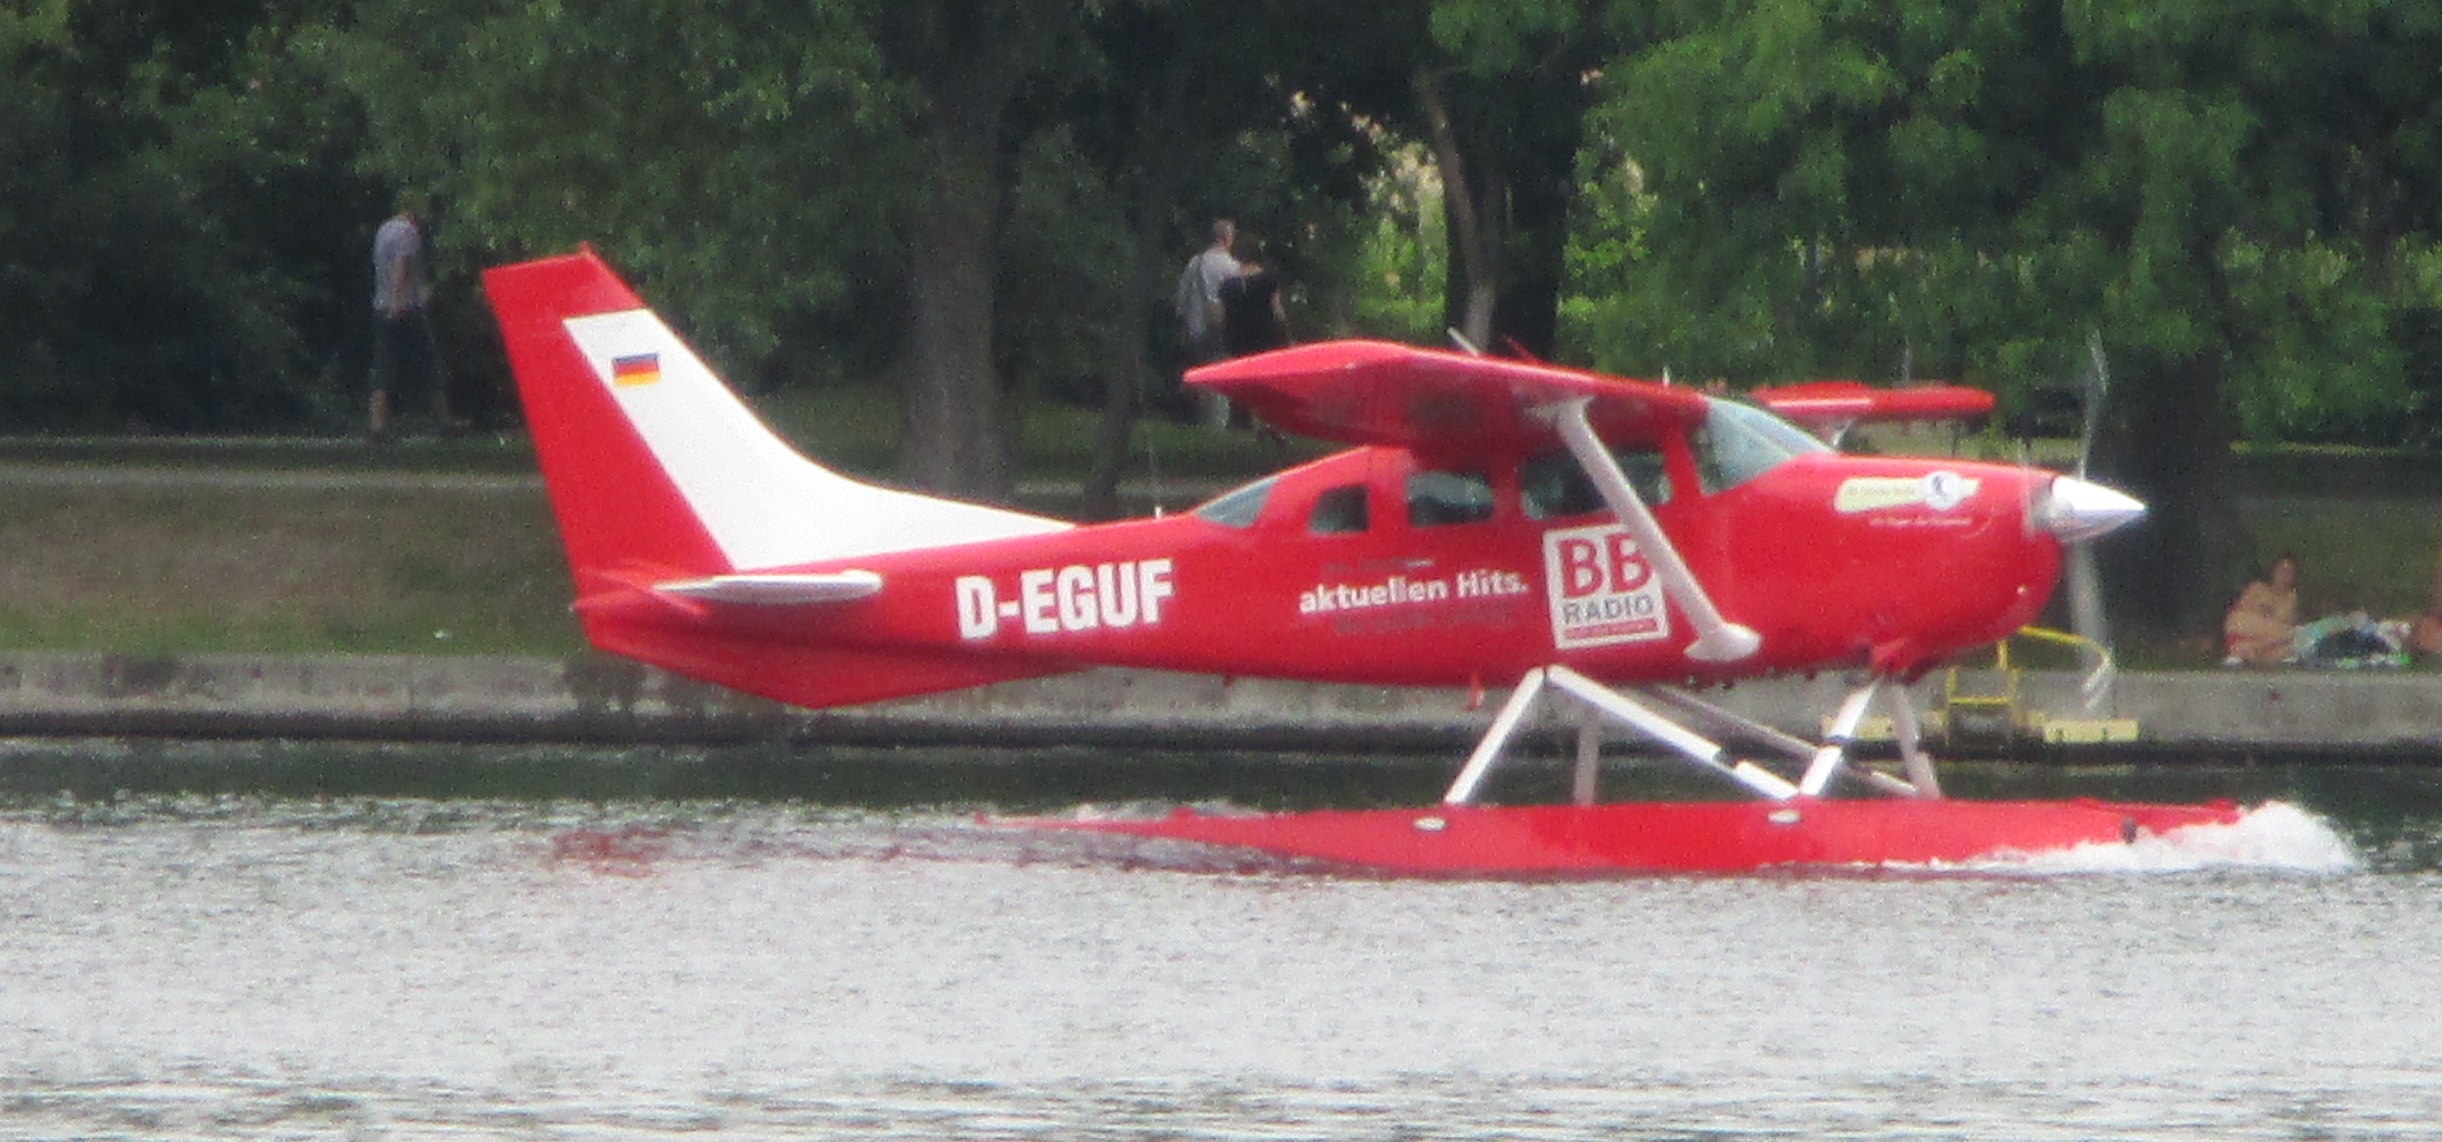
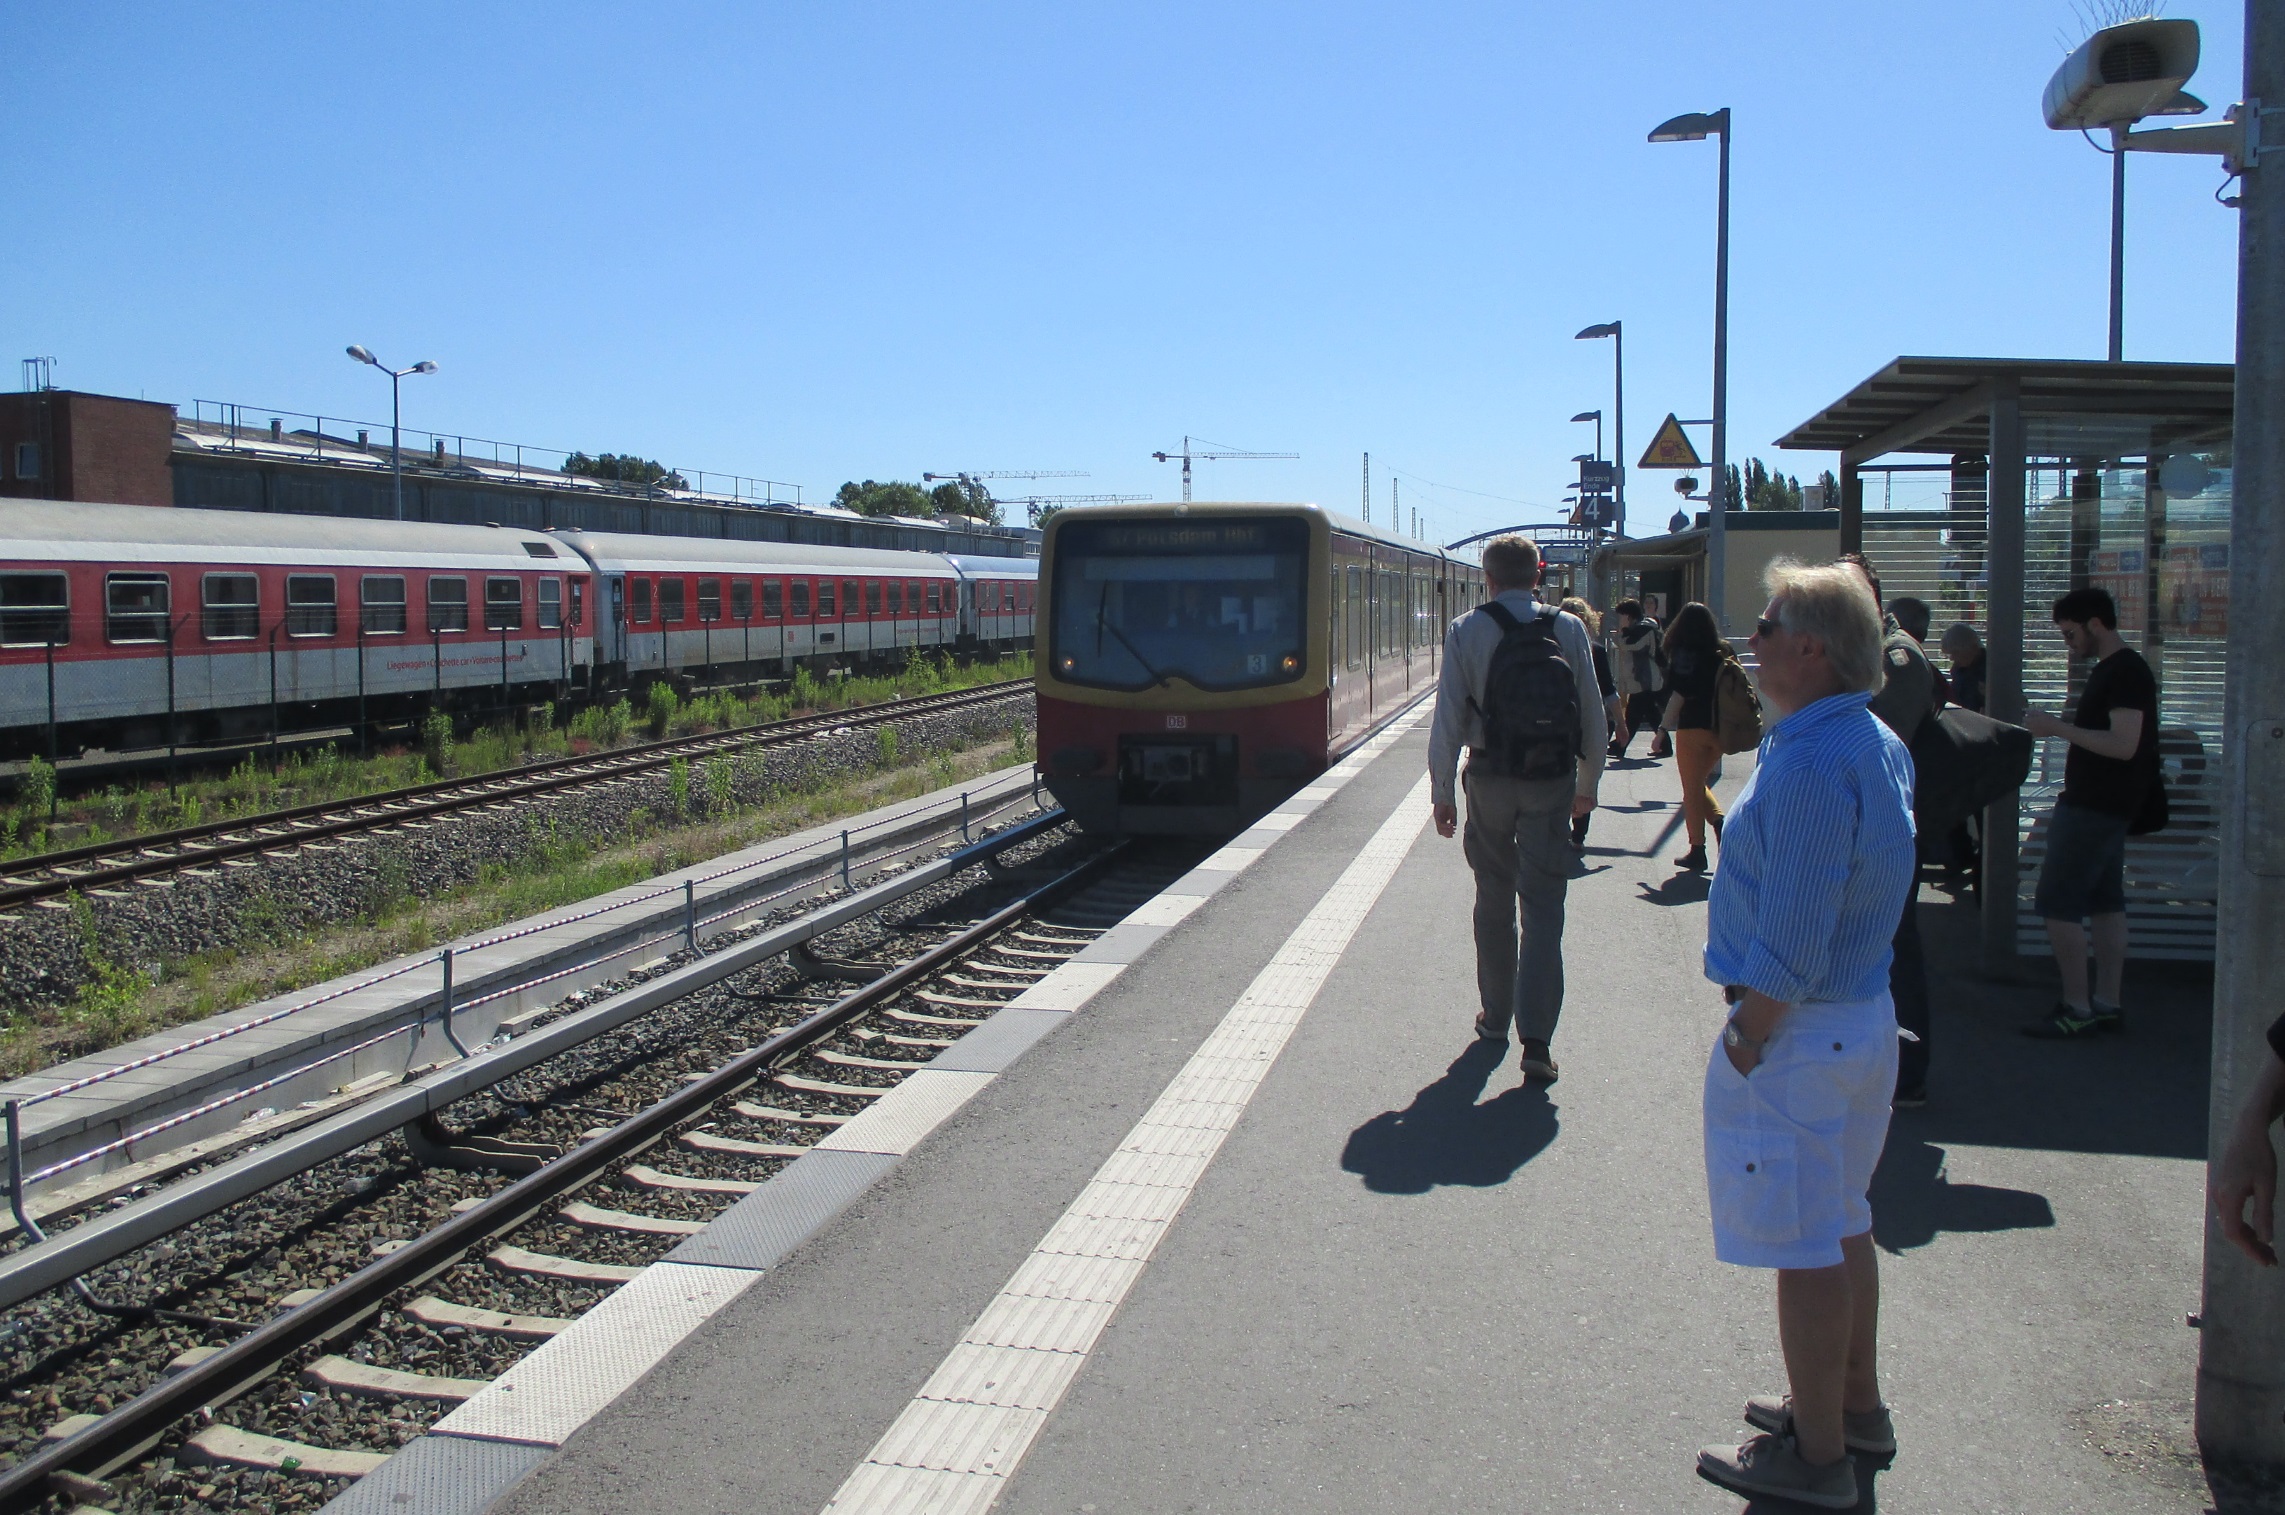
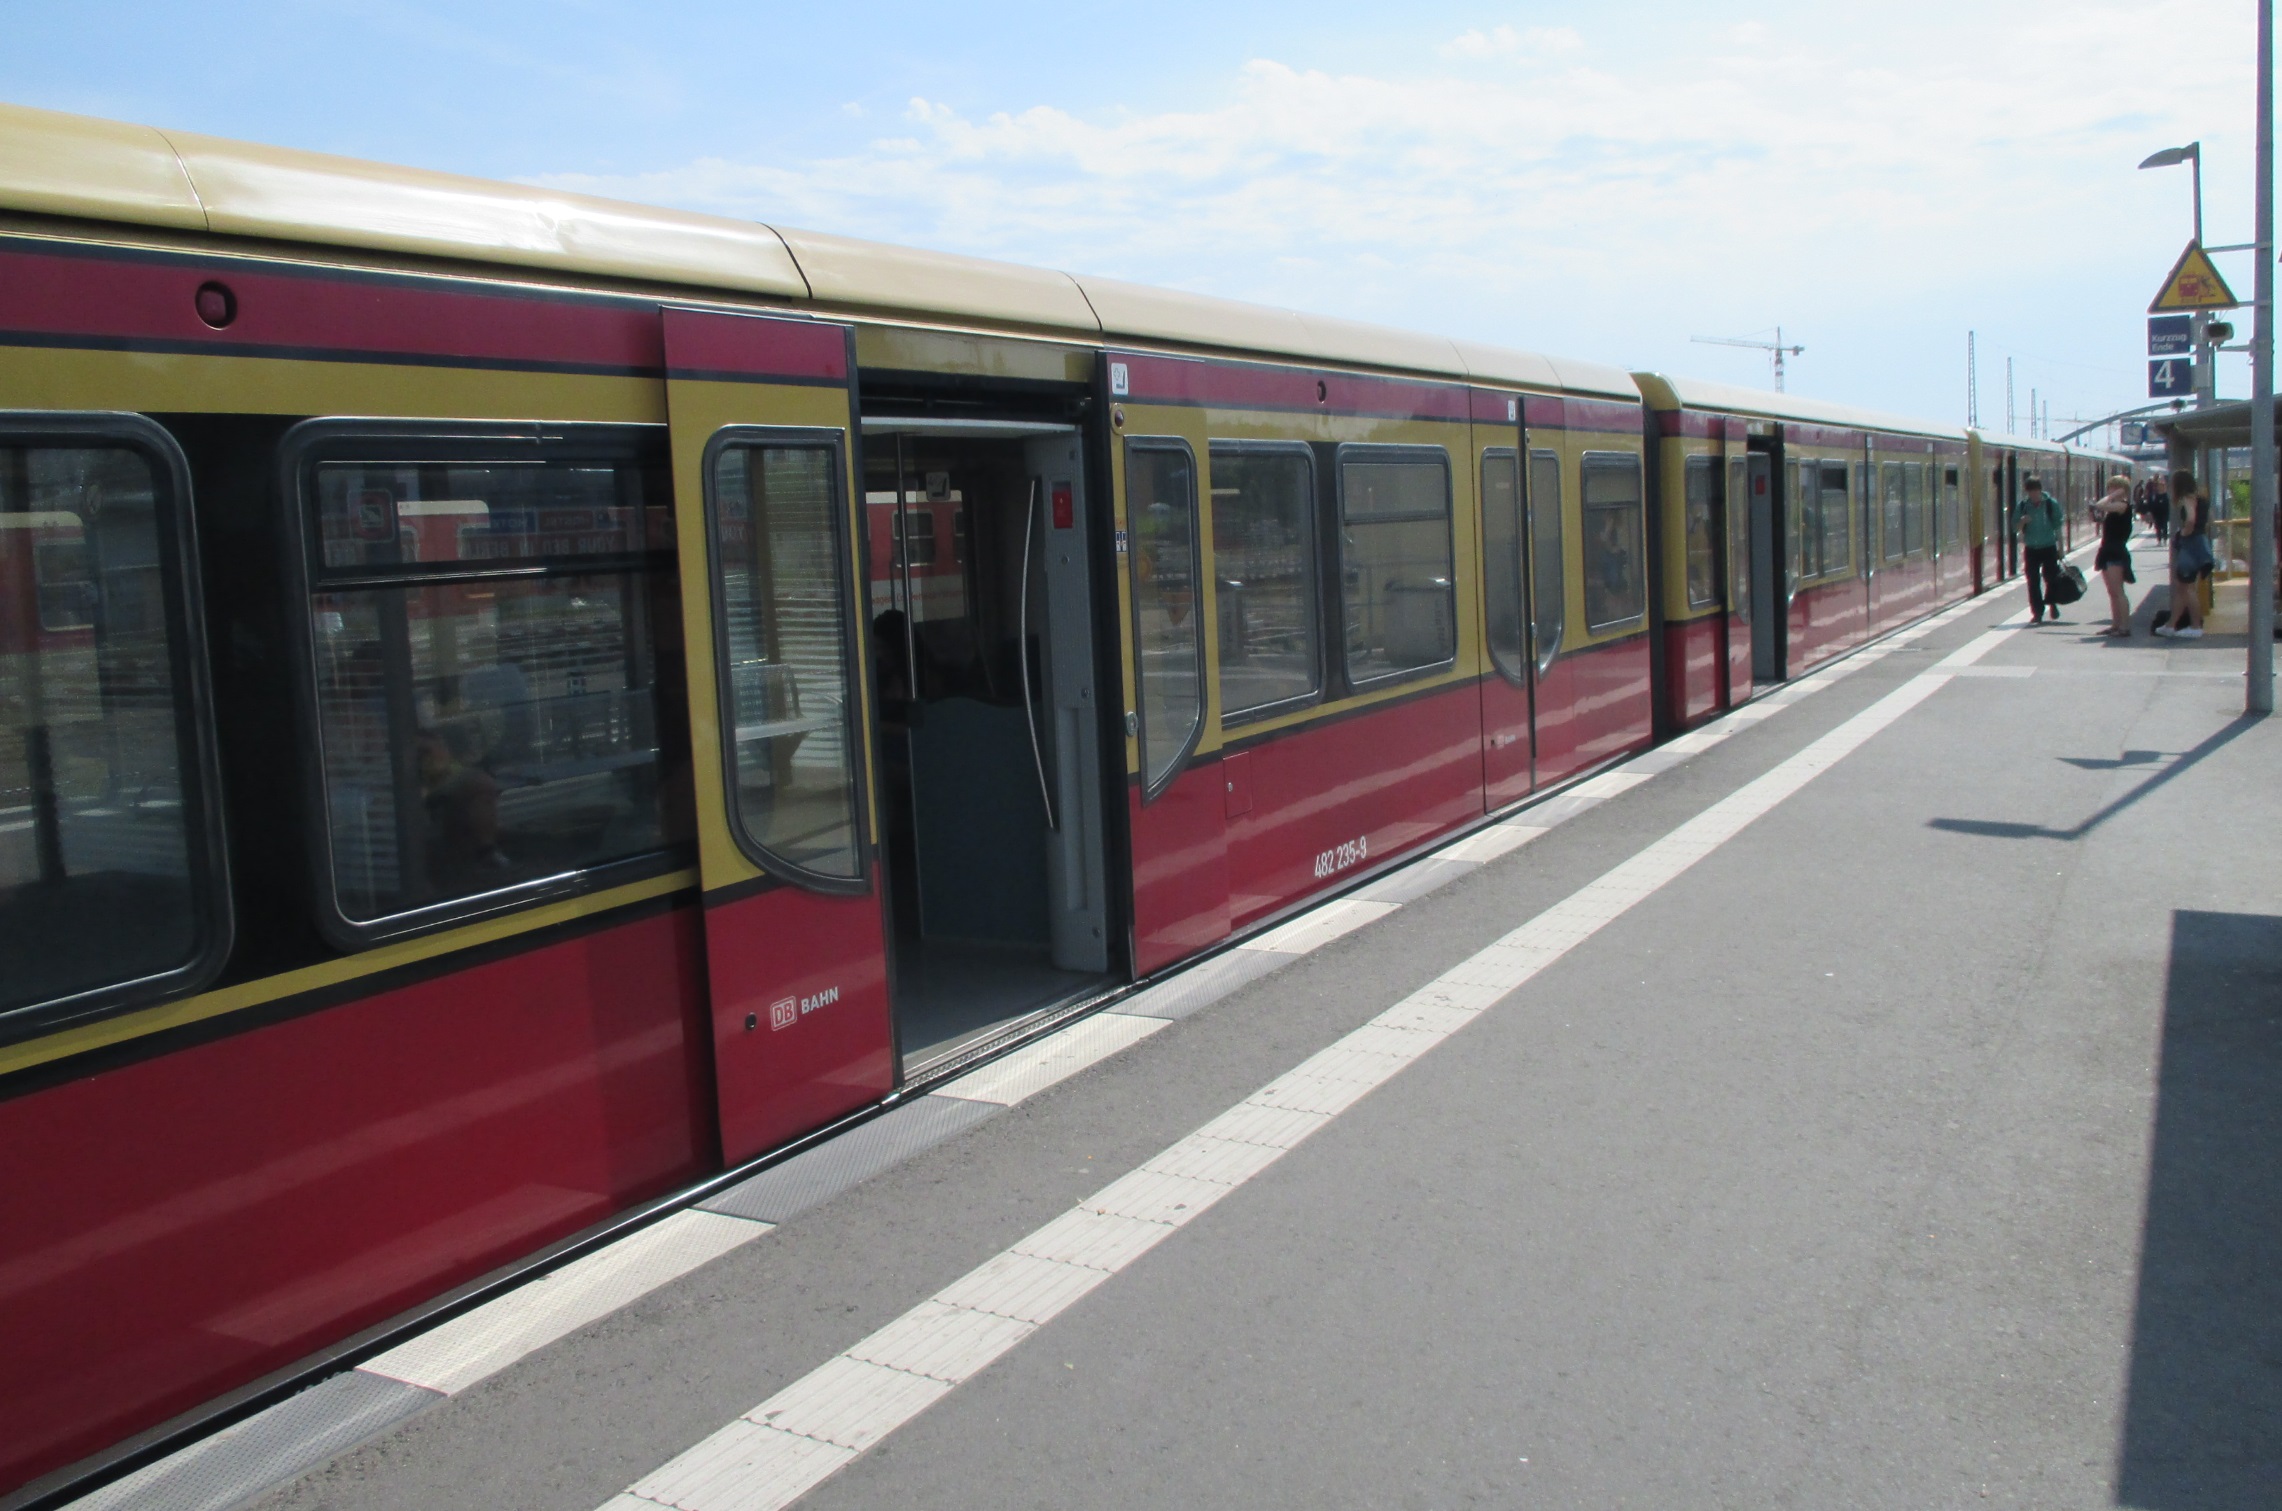
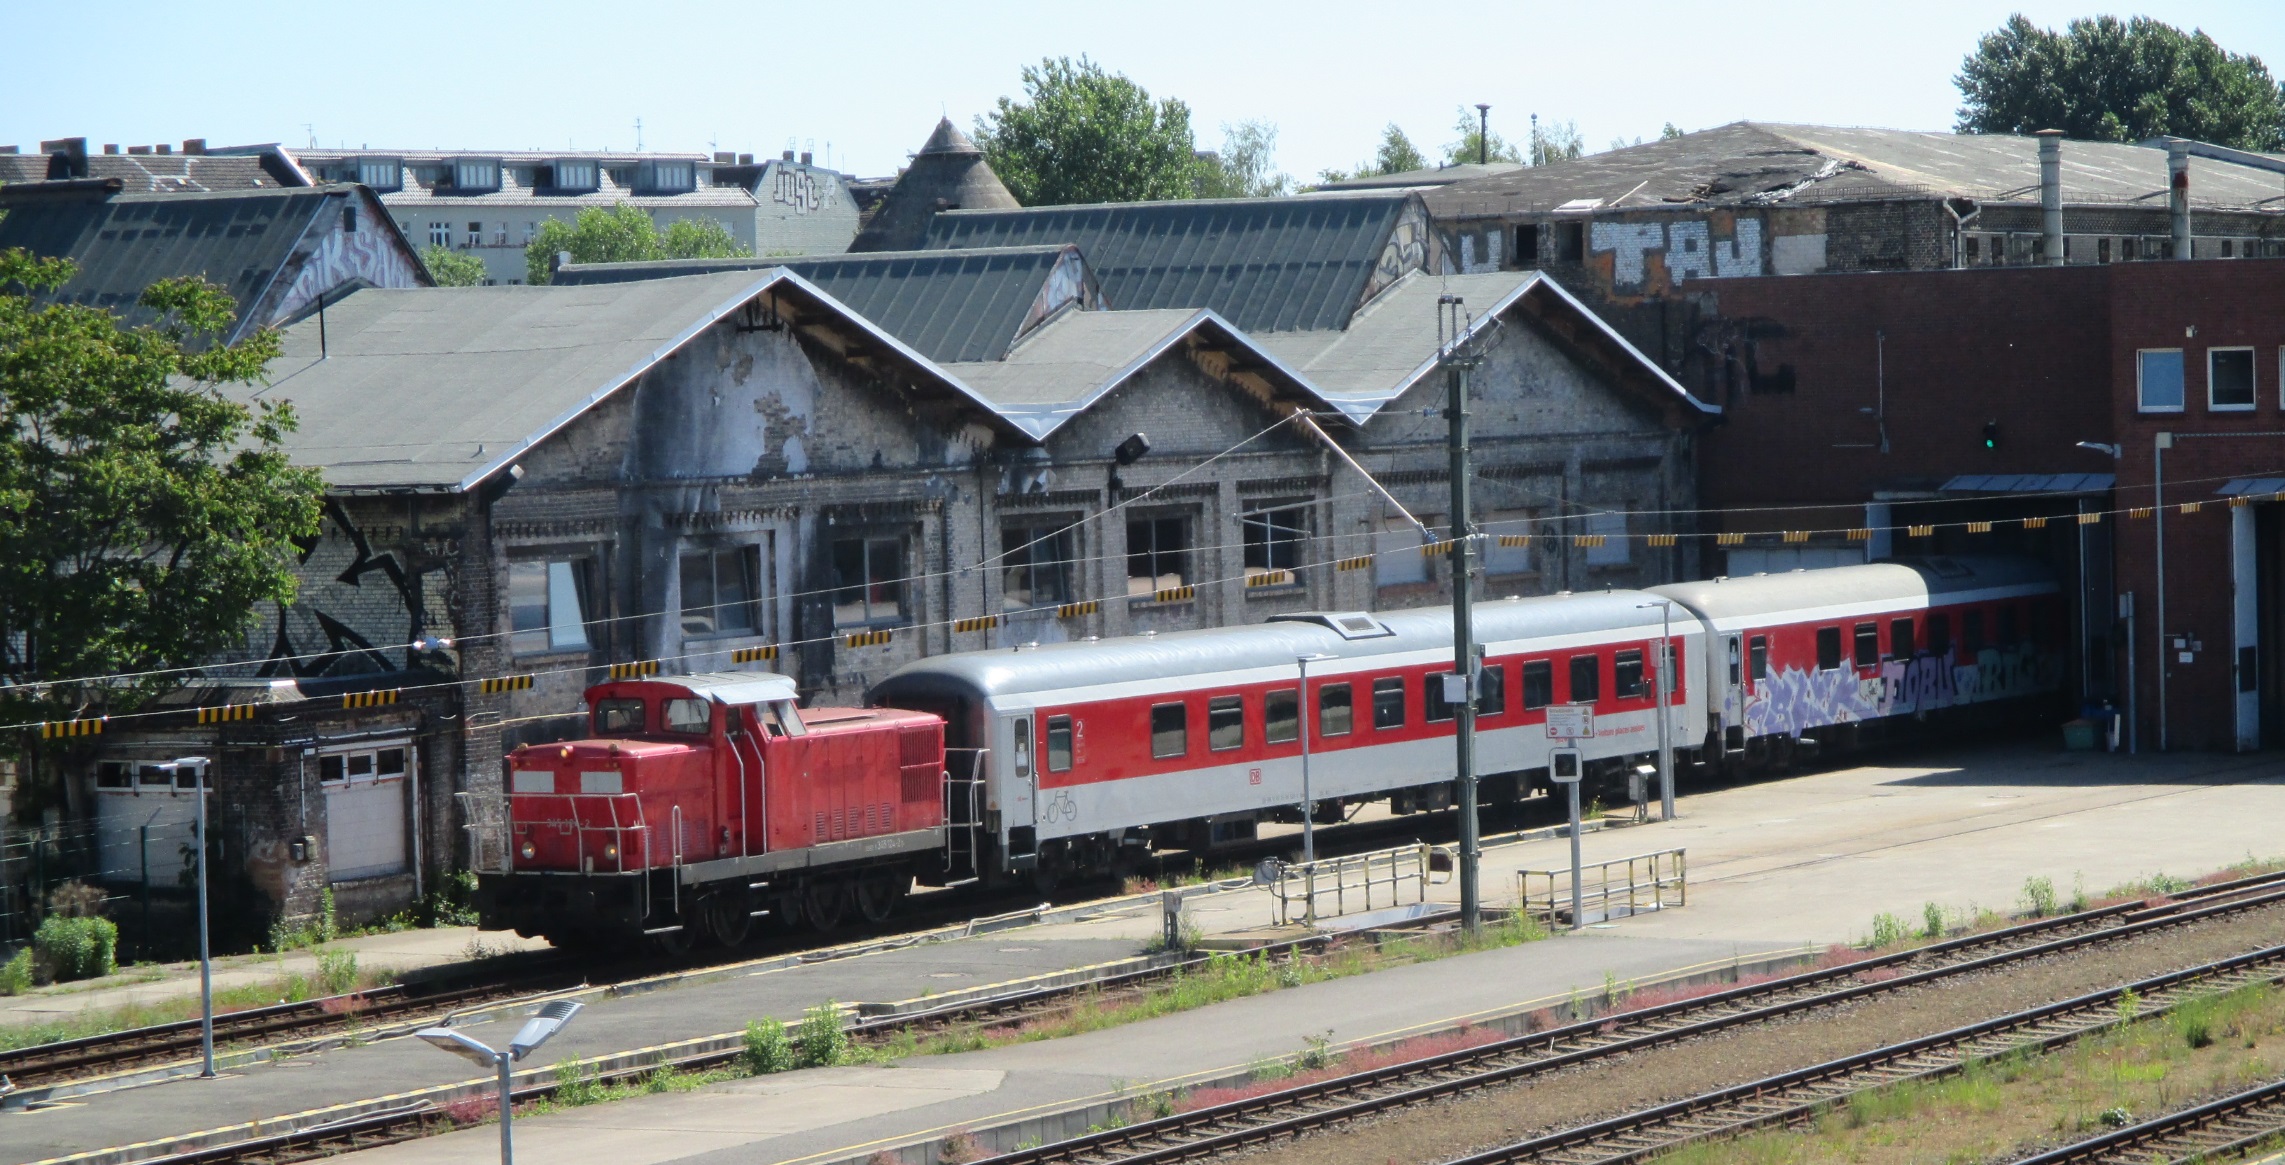
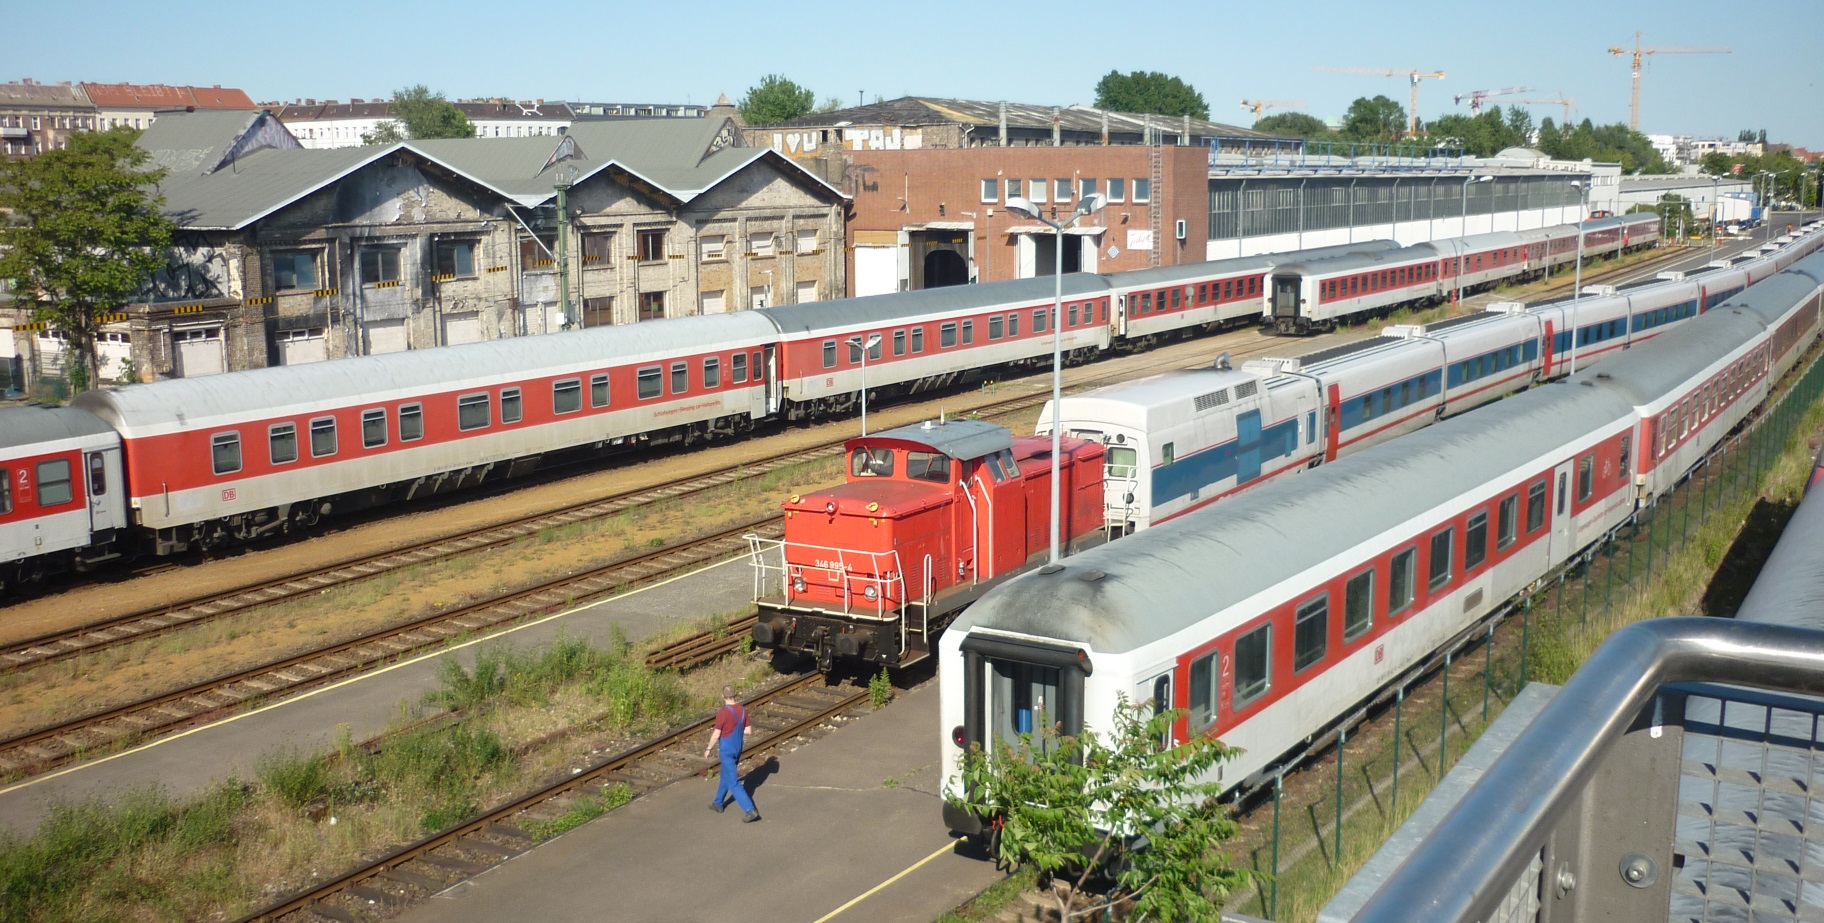
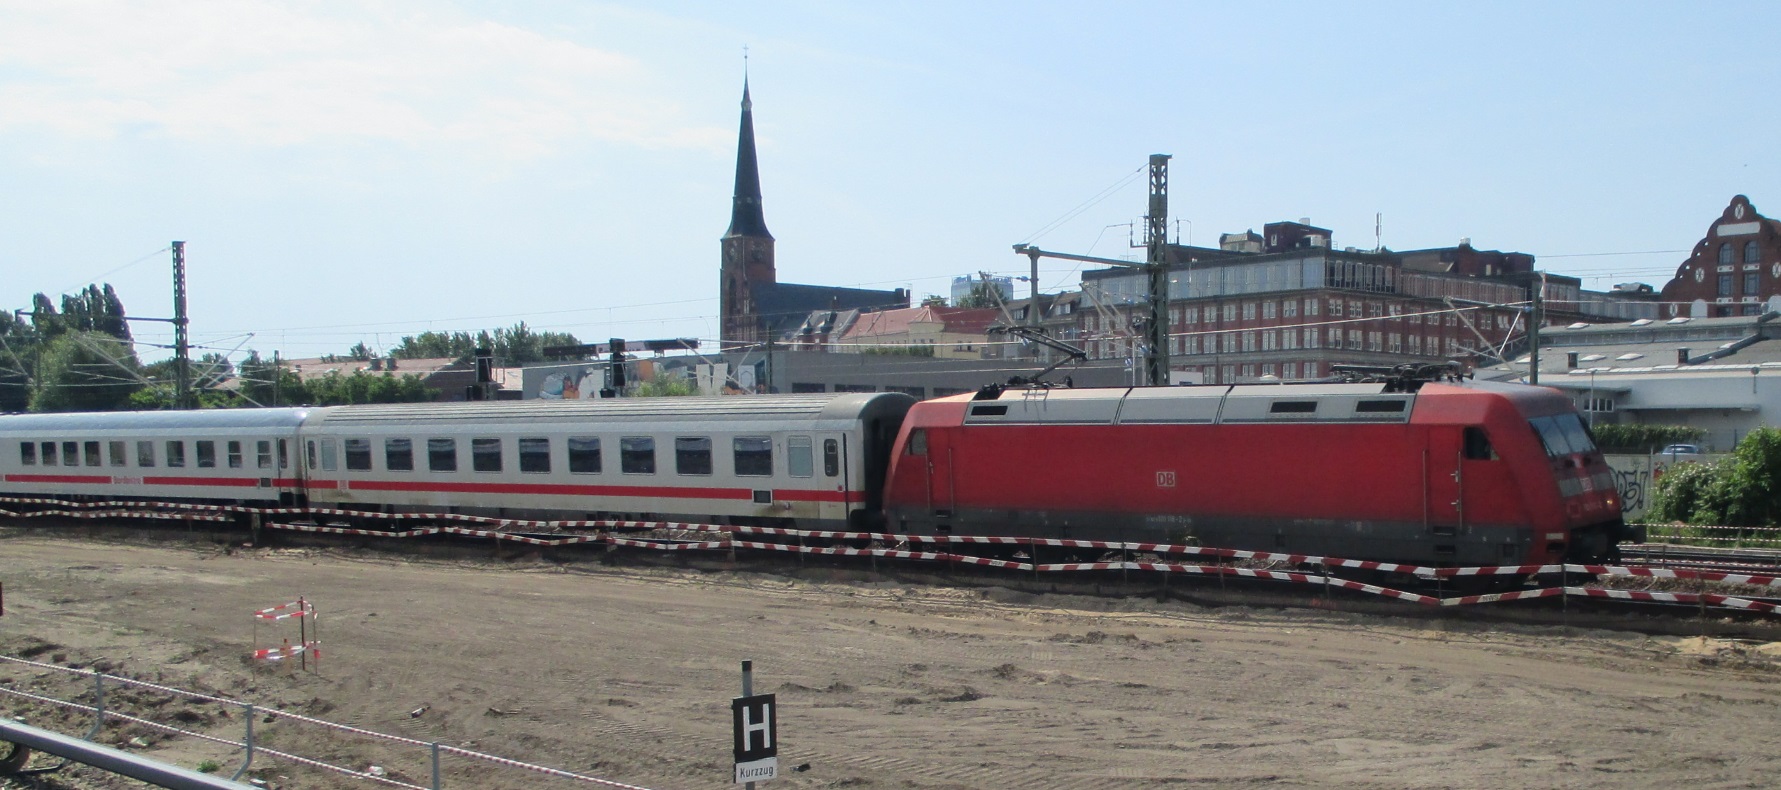
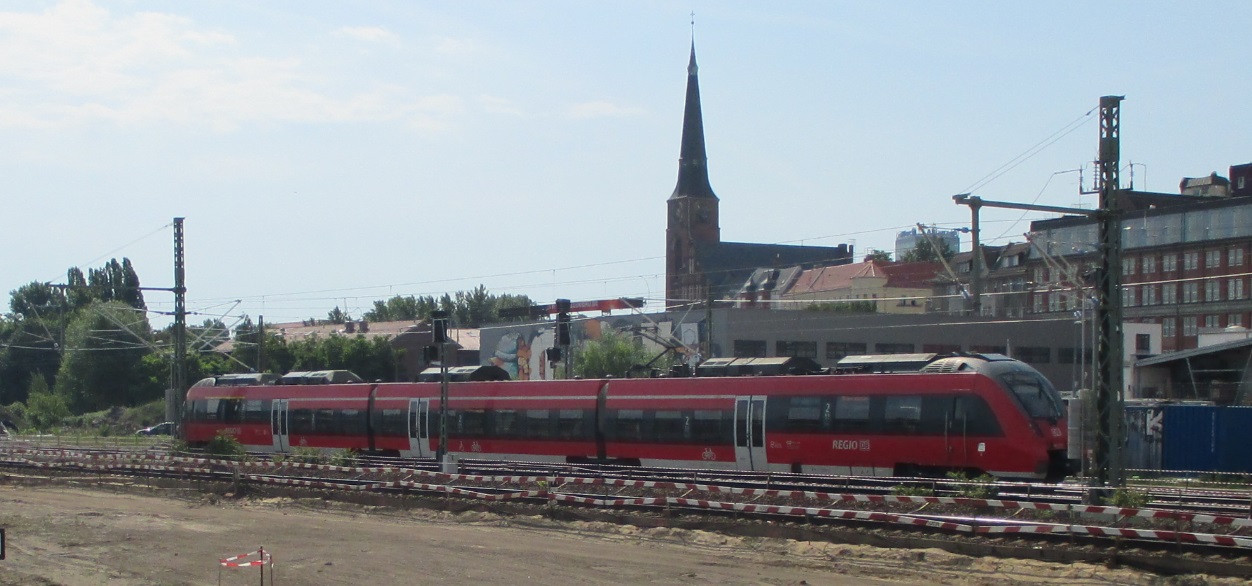
Maxine and I have just had a long weekend in Berlin seeing our eldest daughter.  Hopefully, I’ll have been allowed to look at a few trains or trams, and there will be photos to follow….


Posted in Inspiration, Layout design, Prototype, Traction | Tagged , , , , | 3 Comments