
One to keep you amused as I jet off for a couple of week’s work in Beijing…..
Well, it’s different! (Click to enlarge)

One to keep you amused as I jet off for a couple of week’s work in Beijing…..
Well, it’s different! (Click to enlarge)
Reading an album of railroad photos around Buffalo, I came across the following fascinating fact.
“One of the major headaches of snow removal in the ‘old’ city, was finding a place to plow-shovel-blow the snow. The streets were narrow and usually lined with cars. Only ‘old sol’ and a rising temperature took care of that problem… unless the NYS National Guard was called in to haul it away. In the aftermath of the Blizzard of ’77, the news media reported that the snow was being loaded into railroad cars and shipped south!”
This approach was used to clear the extensive railroad yards, where trains of snow were sent off for a round trip to Florida! Perhaps our railways could do something similar with the wrong kind of leaves/snow/badgers?
And how would you model it – and convince people that snow was a realistic load for your gondolas?
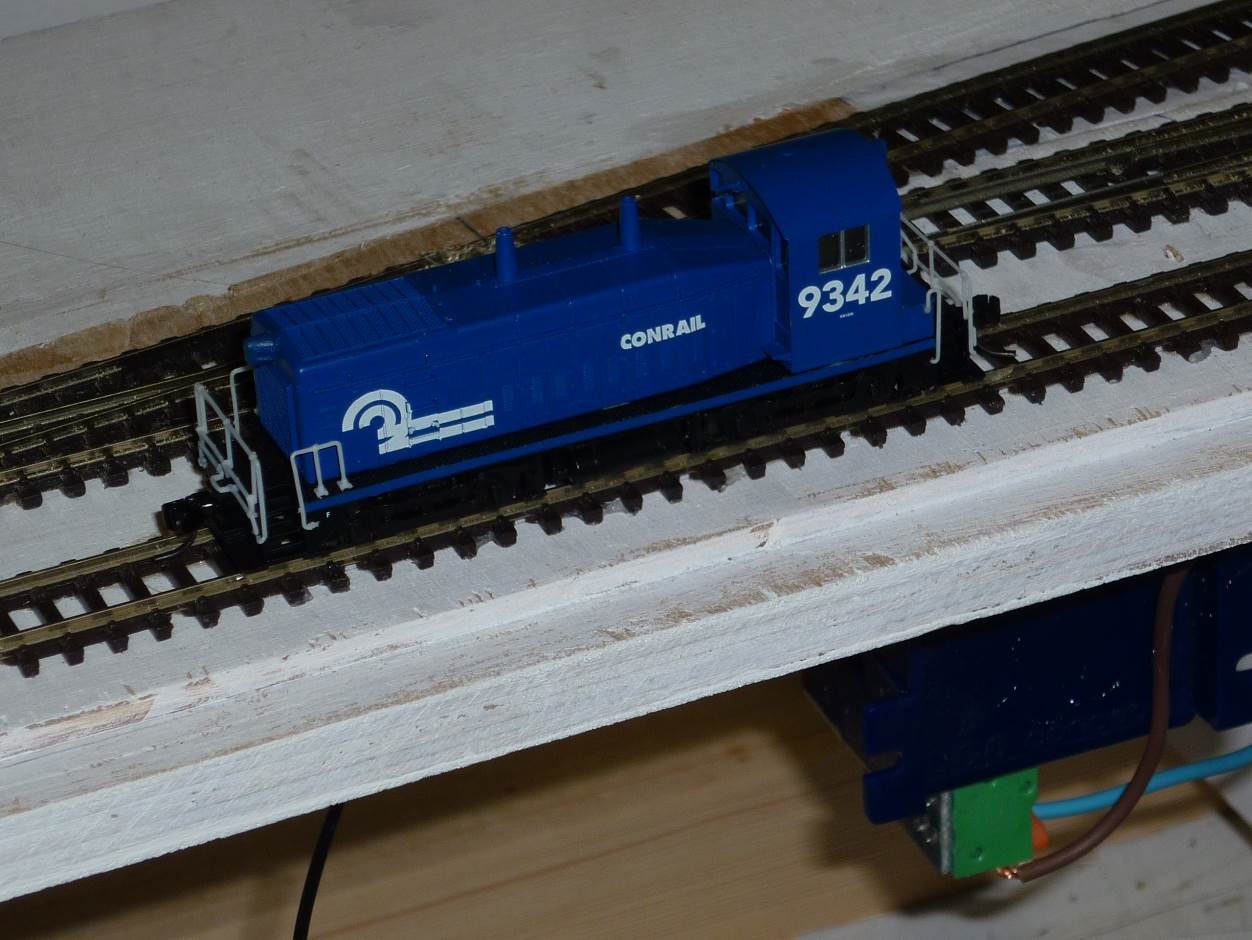
Running with electricity and not string, the 9342, a Conrail SW9, travelled all of 600m on both main line tracks!
Moments like this encourage me to complete the wiring on this first board….
You will have probably realised that wiring is not my strong point. I use as many terminal blocks as possible for joints and to manage the wiring. I also probably use thicker wire than I need to – 3 amp twin flex. That’s my civil engineering background of overdesign. But I have also found wiring flex to a small DPDT point motor switch is not easy at my time of life.
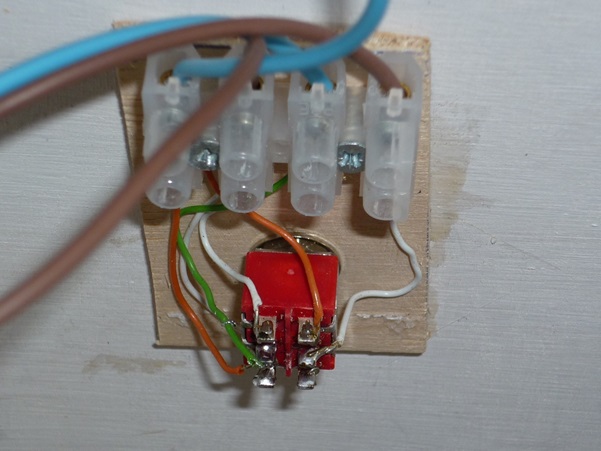 So I came up with this little fix. The switch is recessed into the facia, and is mounted on a 3mm ply plate glued to the back of the facia. A terminal block takes the main supply into the switch. The block is then connected to the switch with small diameter phone wire. Easy to solder to the switch and the soldering can be done on the bench before installation to the layout.
Dave let me know about this running day and says…
We have a mega running day on Saturday 9th November. we should have 24 modules in the scout hall. It’s about an hour’s drive from you to us – though it is Saturday! We should be running by 11.30 and finish by 17.30. If you want to bring your models you might get a bit of running time but it won’t be very long.
Looking at the N-gauge society web-site, here are a few more details…..
We are holding our 2nd Mega running day on the 9th November 2013, the event will be open to members of the N gauge Society.
The 1st Mega meet was a great success; photos can be seen at: http://bagladdies.weebly.com/mega-running-day.html. The 2012 Mega layout was 29ft X 17ft, making a total running distance of 10.62 miles!!
This year we intend to add a further two modules making the layout 29ft X 21ft, adding an additional mile, making a total of 11.5 miles.
Location: Scout hut opposite Norreys Church, Norreys Avenue, Wokingham, RG40 1UU
The meet is for N-gauge Society members, but I’m sure with our links with Berkshire, the ESNG would be welcome.

ESNG 2006 exhibition….
From 2007….
This section was drafted as an appeal from Derek as to who had accidentally taken home a box, after our April show, containing his rake of the new Farish Mk1 Pullman coaches and Class 56 EWS loco. Fortunately, Derek has found them in a box labeled ‘Scruples.’ He had thrown away his scruples (so to speak) and replaced them with some shiny new stock.
Nevertheless, Derek’s original PS has a lot of useful advice in it, so I’ve still included it below!
“PS. A hindsight about taking stock to exhibitions. Make a list of what you take – and USE it. Keep a watchful eye on your stock and be aware if someone offers to help take it to the car – take some yourself at the same time. If possible, mark and identify each item and consider using a secure container – even if you need a trolley to move it as it is not so likely to be carried away. Mistakes DO happen but so, unfortunately, does theft. In this case I don’t know (But he does now – Ed). Derek.”
Well, the first board is almost complete with track and wiring. Just a few more ‘jumper’ cables to add, and final testing with a locomotive, rather than my trusty caboose.

The photograph shows a few features that may be of interest
Now to lay some track on the second board….
With a baker’s dozen daily posts to get this blog up and running, I will ease off a bit now, to my planned two or three posts a week. But do keep reading (both of you)!
Sound thoughts from the Model Railroader (many years ago)
Layouts, like full-size railroads, aren’t cast in concrete. They’re made of relatively easy-to-change wood and plaster or foam. Start small, test as you build, and make changes when needed to improve operation or appearance. Layout design and construction are both continuous learning processes. Most well-known model railroads in the hobby are the result of an ongoing series of changes and additions to the original design – even to the point of being completely rebuilt from the ground up to embrace a new theme.
Once a design is “frozen” and construction commences, be it for a model railroad, a full-size railroad, or even an airliner, rocket, or attack submarine, it embraces old technologies and design concepts. As Steve King, a former Baltimore & Ohio dispatcher and builder of the N scale Virginian Midland, has pointed out, a “perfect” model railroad wouldn’t be much fun to operate anyway, as all of the challenges would have been designed out.
So the goal is to make well-informed decisions, then build a layout that embraces that knowledge yet can still be adapted to changing conditions and additional input. Just as we continue to gain knowledge and skills, our model railroad designs should continue to reflect those ever-improving conditions and be readily able to accommodate them.
| Allan Dawes on On my workbench – module… | |
| “Stuttgart 202… on Stuttgart 2025 – 4… | |
| Jonathan Caswell on Stuttgart 2025 – 4… | |
| Chuckster on Brockenhurst show 2025 | |
| snitchthebudgie on Potpourri #1130 |
